After installing a new SSD to your computer, you will want to move the Windows 10 OS from the old hard drive to the new SSD for better system performance. Disk cloning software allows you to directly migrate Windows 10 to SSD without reinstalling. But if you prefer to do a fresh/clean install of Windows 10 on the new SSD, this page is for you. We will show you step by step how to install Windows 10 on a new SSD without removing the old HDD.
If you already have a Windows 10 installation USB flash drive or CD, go straight to the next step. If you don't have any installation media, make one first. In the past, to make an installation disk, you had to download a Windows ISO file, and then burn the ISO file to a USB or CD flash drive using a burning tool. Nowadays, however, Microsoft has provided an easier and faster way to make a Windows 10 installation USB drive. All you need is the Media Creation Tool.
1. Download the media creation tool on any available PC, and then insert a USB flash drive to the PC.

2. Run the media creation tool you just downloaded. Click on Accept to agree to the license terms.
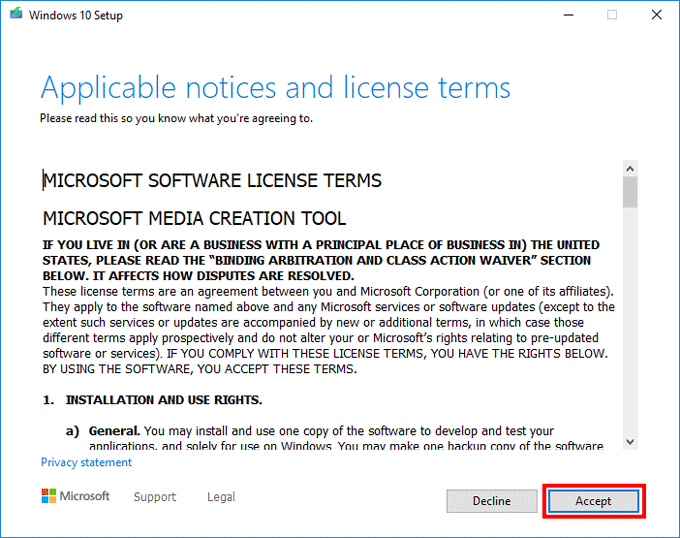
3. Select Create installation media (USB flash drive, DVD, or ISO file) for another PC, and then click Next.
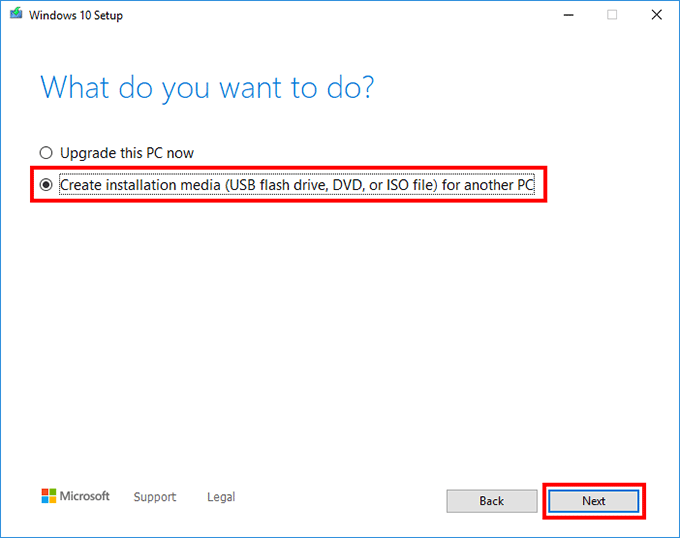
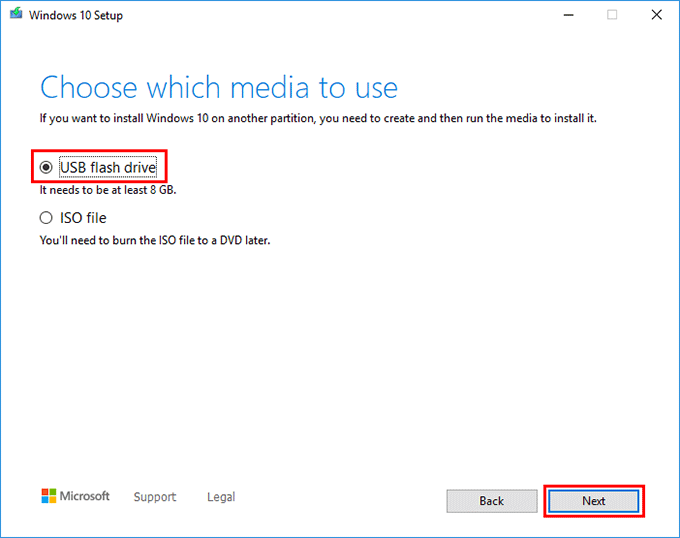
4. Choose your language and click Next. Choose USB flash drive and click Next. Click Next again.
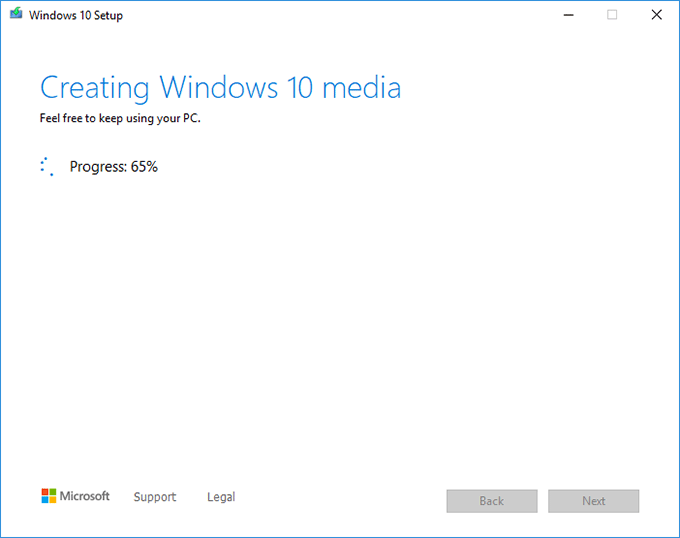
5. This tool will start downloading Windows 10, and then put it into the USB flash drive to make it bootable. Wait for the process to complete. When the installation USB is created successfully, the screen will display "Your USB flash drive is ready".
1. Connect the USB flash drive to the computer where you want to install Windows 10.
2. Shut down the computer and then turn it on again. Once you turn on the computer, press the BIOS key (Delete, F2, or F12) immediately and continuously to enter the BIOS menu.

3. On the BIOS settings, go to the Boot option and select the USB flash drive as the first boot device.

4. Save the changes and exit the BIOS menu. Your computer will boot from the USB flash drive.
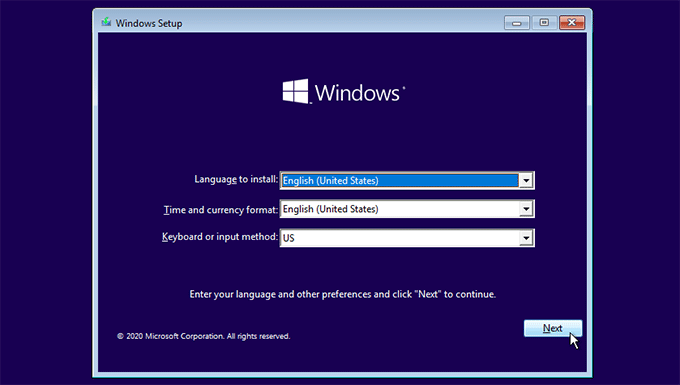
1. After your computer boot from the Windows 10 installation USB, you will see the Windows Setup screen. Select your language and click Next.
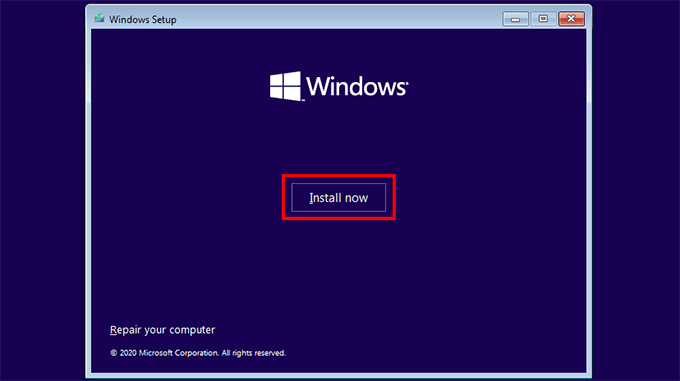
2. On the next page, click Install Now.
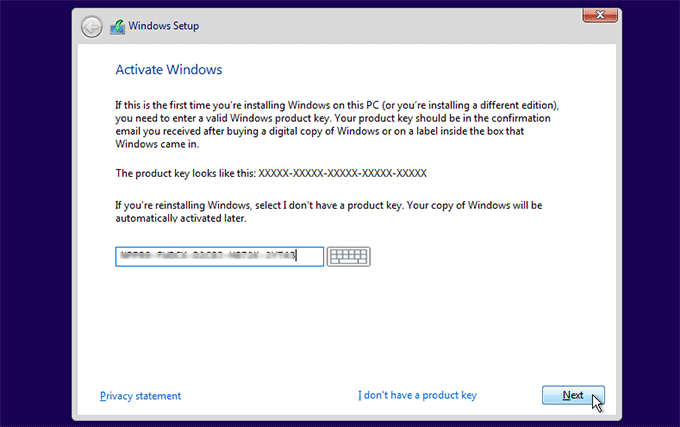
3. Enter your product key and click Next. If you have lost your Windows 10 product key, you can find it from your original hard drive. Or, you can click I don't have a product key. This allows you to activate Windows 10 on this PC without problems after the installation is complete.
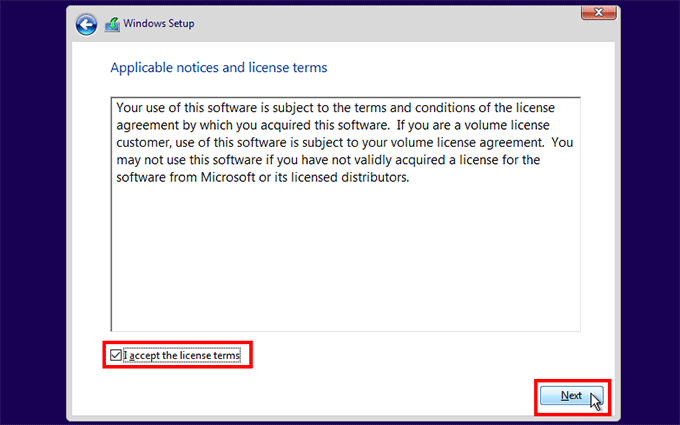
4. Check I accept the license terms, and then click Next.
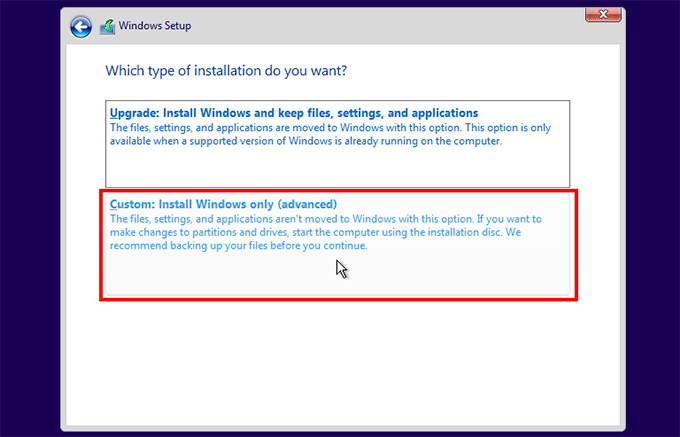
5. Choose Custom: Install Windows only.
6. On the "Where do you want to install Windows?" page, select your new SSD drive, and then click Next. If the new SSD contains several partitions, select one you want.
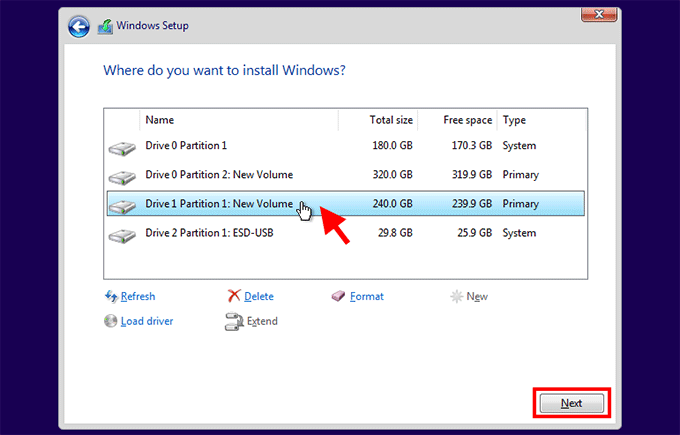
Tips: If you're not allowed to select the new SSD and receive the error message "Windows 10 cannot be installed to this disk", it is because the partition style of the new SSD is not compatible with your current BIOS boot mode. In this case, you can reformat the SSD to change its partition style.
7. Windows Setup is now installing a fresh Windows 10 onto your new SSD without removing your old HDD. Just wait for the installation process to complete. This usually takes 15 to 30 minutes.
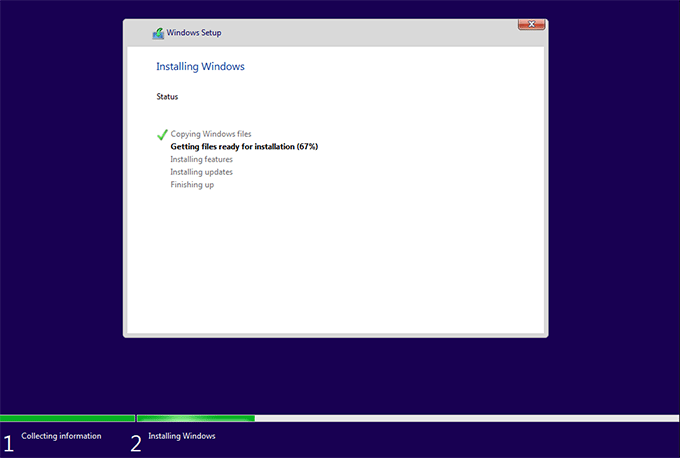
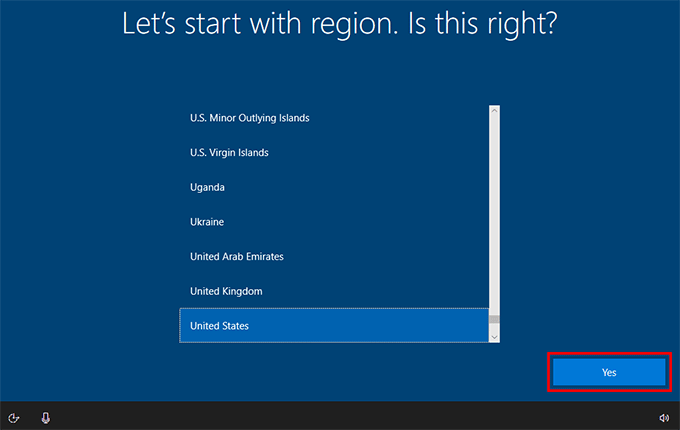
8. When the installation process is complete, you can disconnect the Windows 10 installation USB drive from your computer. Then, you need to complete the initialization setup to get to the Windows 10 destkop. So, choose your region and click Yes. On the next page, choose your keyboard layout and click Yes.
9. Follow the on-screen steps to set up your Windows 10 and create an account for logging in.

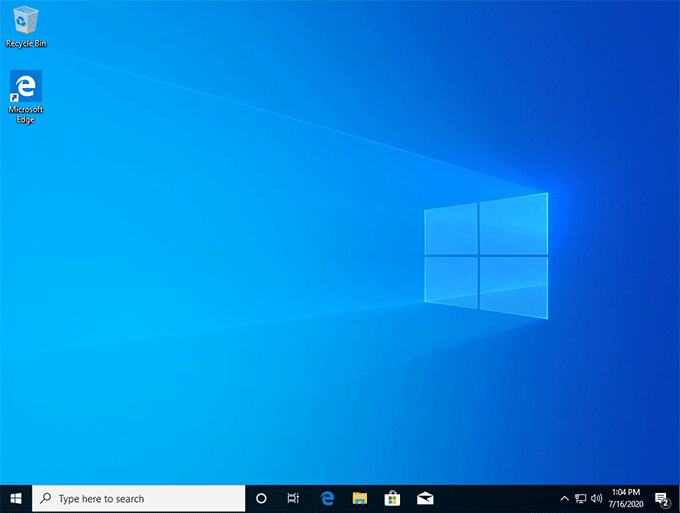
10. After setting up, Windows 10 will automatically sign in to the desktop.
If the SSD is the only hard drive in your computer, your computer will automatically boot from it every time it turns on. However, if you installed Windows 10 on the new SSD without removing the computer's original HDD, you have to enter the BIOS menu once again to change the boot order to make the SSD the first boot device.