We usually feel regretful when deleting some photos from a laptop unintentionally. Is there any way to get back them? The answer is yes. This article will show you how to recover deleted photos on an HP laptop on Windows 10.
As long as you don’t use the Permanently delete option or the Shift + Delete shortcut to delete the photos, you can generally retrieve the photos in the Recycle Bin.
Step 1: Access the Recycle Bin and locate the target photo.
Step 2: Right-click the photo and select Restore from the context menu.
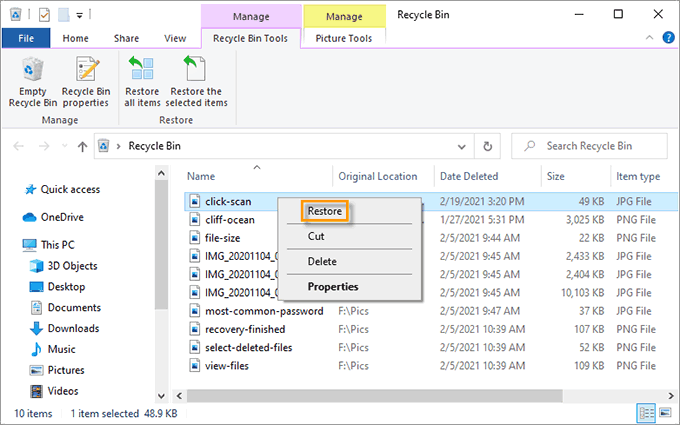
Then the photo will come back to where it used to be.
You can recover the deleted photos readily with the File History feature. Check whether you have turned on the File History before deleting a photo.
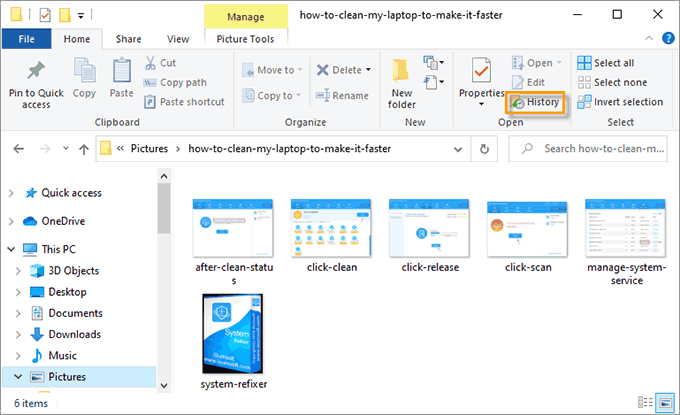
Step 1: Press Win + E to open File Explorer and navigate to the original location where the deleted photo was. Click the History option at the upper pane.
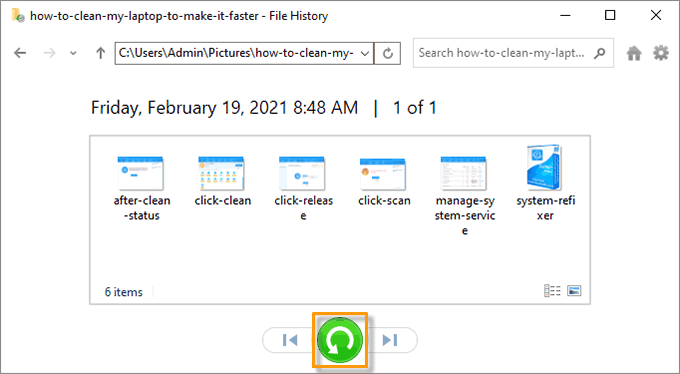
Step 2: If you can find the deleted photo in the file history window, select the photo and click the Restore button.
You can also restore the target folder to the previous version to recover the deleted photos.
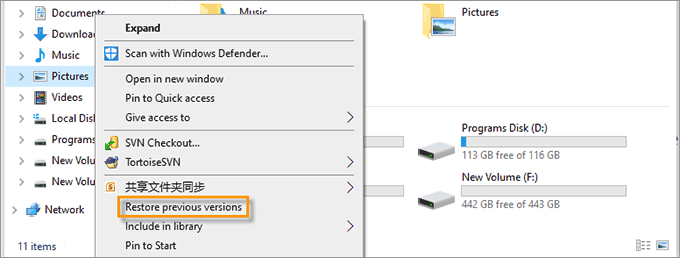
Step 1: Navigate to the folder in the File Explorer. Right-click it and select Restore previous versions.
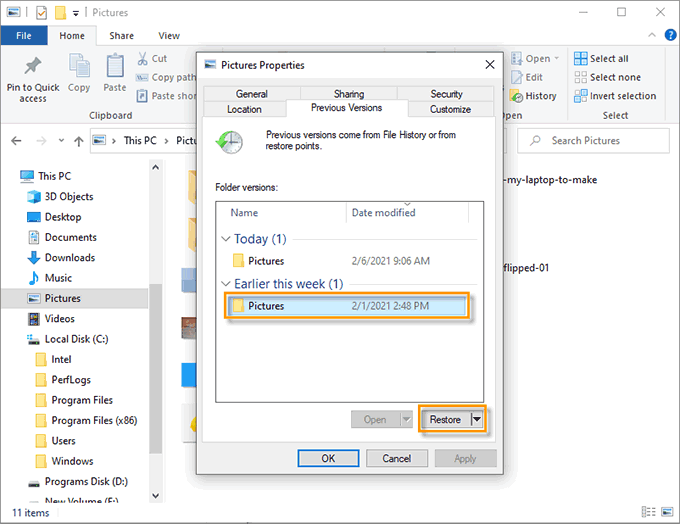
Step 2: Under the Previous Versions tab, select an earlier version and click the Restore button to start the recovery process.
If you have backup the drive containing deleted photos, you can quickly recover the deleted photos using the backup.
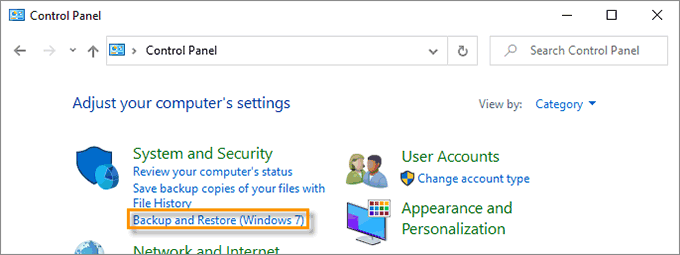
Step 1: Access Control Panel and click Backup and Restore (Windows 7) when it opens.
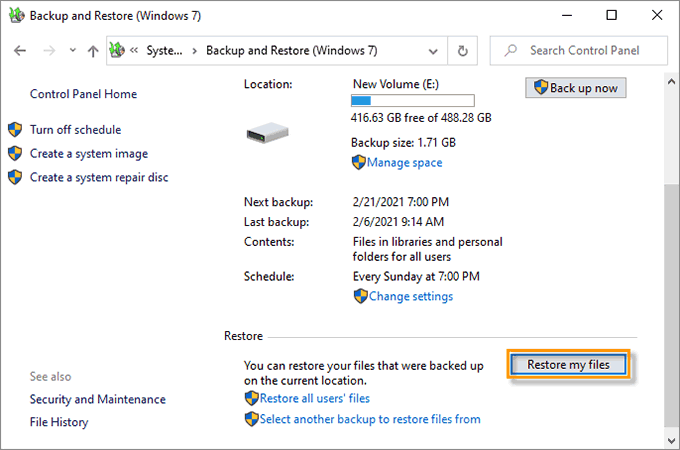
Step 2: In the next window, click the Restore my files option.
Step 3: Then navigate to deleted photos with Search or Browse for files/folders.
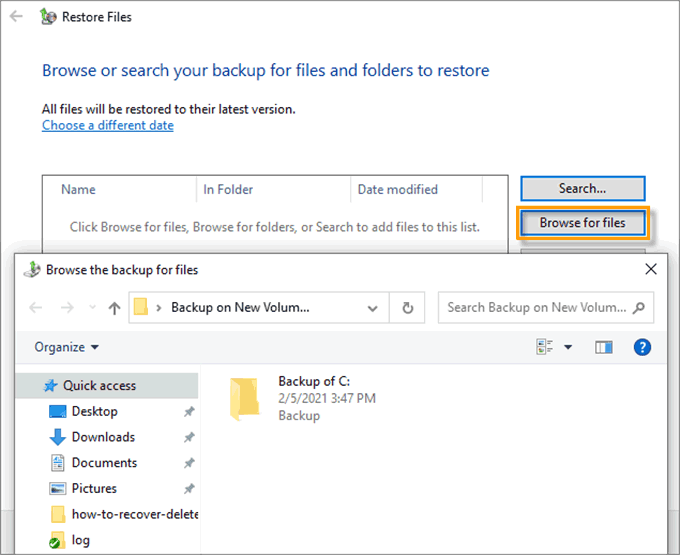
Step 4: After adding the backup of the photos, select a location to recover the deleted photos.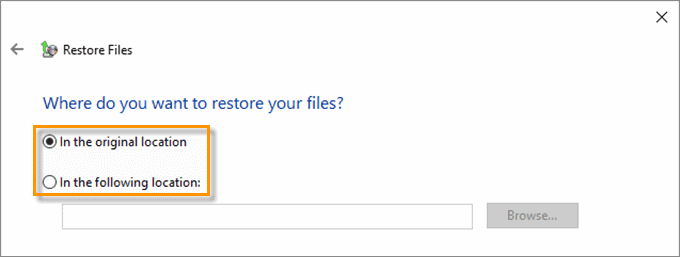
When you don’t find any file history and backups in your HP laptop, you can turn to iSumsoft Data Refixer for help.
Step 1: Download, install and run iSumsoft Data Refixer on the HP laptop.
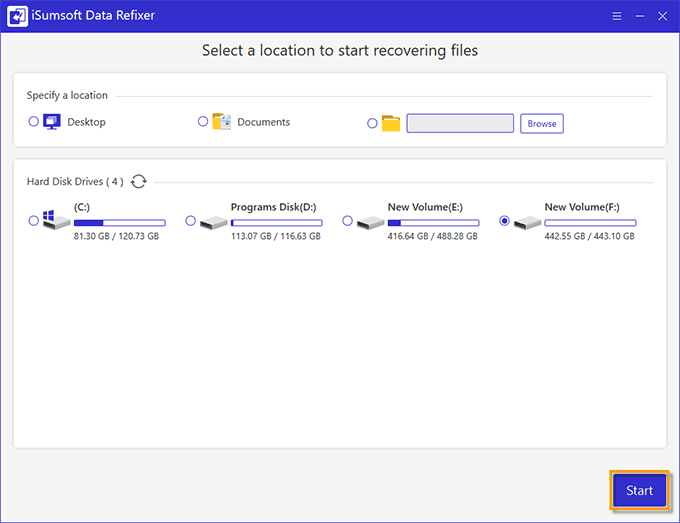
Step 2: Select a specific folder or drive to start scanning the deleted files.
Step 3: When the scanning completes, you can navigate to the deleted photos you want to restore by clicking each folder at the left pane.
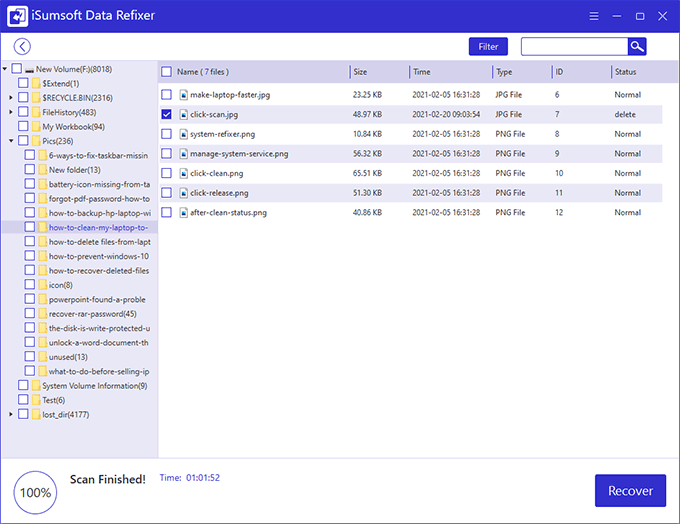
Step 4: Alternatively, you can make use of the Filter option on the upper-right side to quickly find the deleted photos if there are too many folders. Finally, click Recover to perform the recovery.

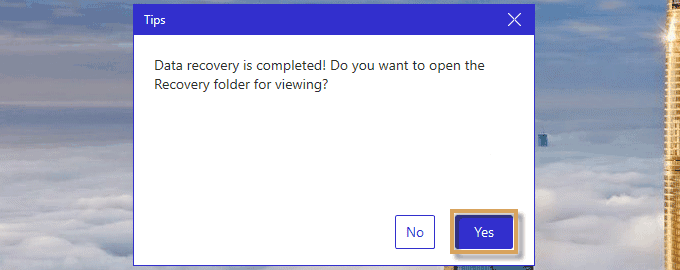
When recovery finishes, you can check the deleted photos in the new file location right away.
