Since the first release of the iOS 17 beta, I believe most Apple users have installed the iOS 17 beta on their devices to experience the new features. Undoubtedly, the first version of iOS 17 Developer Beta is unstable, buggy and memory hungry, and the later versions are still struggling with app crashes and power consumption even though the bugs have been fixed.
At this point, you may want to downgrade from iOS 17 beta to get back to an official release. Focus on this article, I will show you how to uninstall iOS 17 beta from your iPhone/iPad.

Tips: When you connect the device to the computer, if you have never connected this device to the current computer before, you will be prompted to trust this computer. Tap Trust and then enter the screen passcode on the screen to confirm.

iTunes, a mobile device management application, has the capability to restore iOS devices using a previously created backup and to back up certain types of files on iOS devices. Restoring an iPhone using iTunes allows you to recover your device to a previous state, including all the data, settings, apps, and other content that were included in the backup.
Step 1: Connect your iPhone/iPad to the computer using a USB cable.
Step 2: Download and install iTunes on your computer. Then launch it.

Step 3: iTunes will automatically detect your device and display a device icon. Click the device icon.
![]()
Step 4: Select Summary option on the left, and the device information will appear on the right.

Step 5: In this section, you can click Restore Backup if you have previously backed up your data, then click the dropdown button to select a backup, and then click Restore.

If not, click Restore iPhone, then click Restore in a dialog box to restore your device to its factory settings and erase all data.

Another solution is to use a third-party tool for downgrading. iSumsoft iOS Refixer is a powerful iOS system repair tool designed to fix various iOS problems on iPhone/iPad/iPod Touch. In addition, it can also downgrade the device from iOS 17 beta with a few simple clicks.

Step 1: Connect your iPhone/iPad to the computer with a USB cable.
Step 2: Download and install iSumsoft iOS Refixer, then launch it.

Step 3: Select iOS Upgrade/Downgrade on the computer.

Step 4: Select Downgrade iOS.

Step 5: Click Next to proceed after making sure your device is connected to the computer.

Step 6: Software will detect your device information automatically. Click Download to download the firmware.

Step 7: Click Start and a dialog box will appear warning you that this operation will erase all data, click OK to confirm, and device will enter recovery mode. This section will take approximately 15-25 minutes.

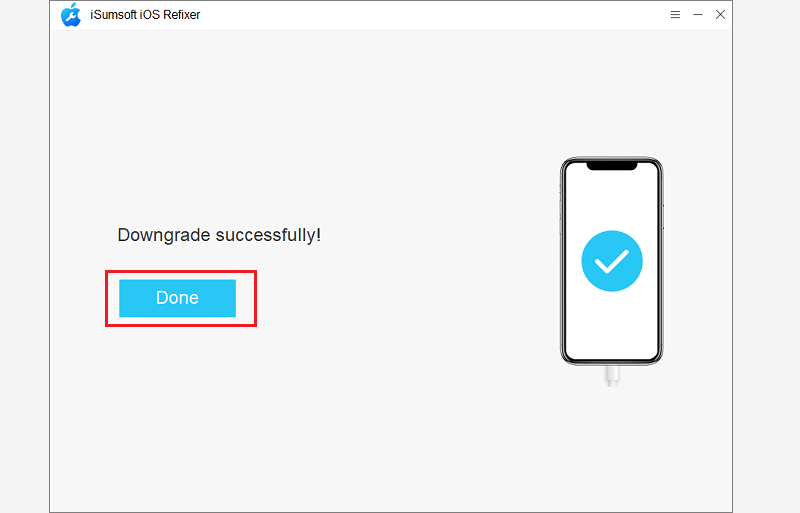
Step 8: When "Downgrade successfully" appears on the interface, iPhone/iPad is restarting, and you can click Done to close the window.
