You want to install Windows 11, but find that your PC doesn't support TPM 2.0 and Secure Boot? Don't be upset. This doesn't mean you have to give up installing Windows 11 or buy a new computer with TPM 2.0 and Secure Boot.
Although Microsoft doesn't allow installing Windows 11 on a device that doesn't meet the minimum system requirements, you can still do so through some workarounds. This article will show you one of the easiest ways to install Windows 11 without TPM 2.0 and Secure Boot.
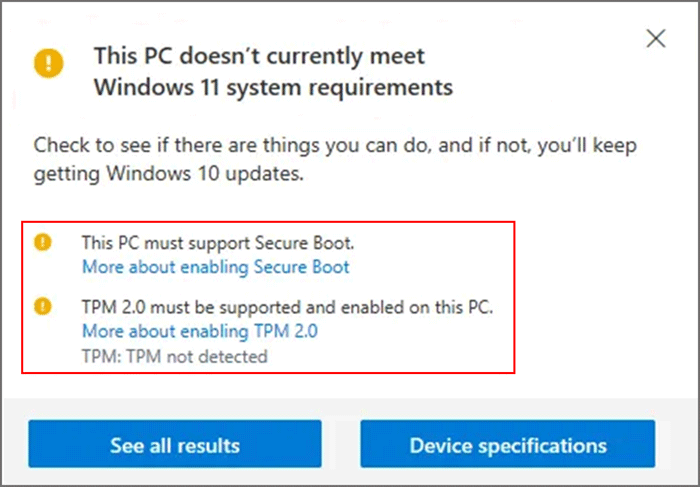
What you need to do is install Windows 11 from a bootable USB in the usual way, then bypass the TPM and Secure Boot checks by modifying the registry during the initial installation. Follow these steps.
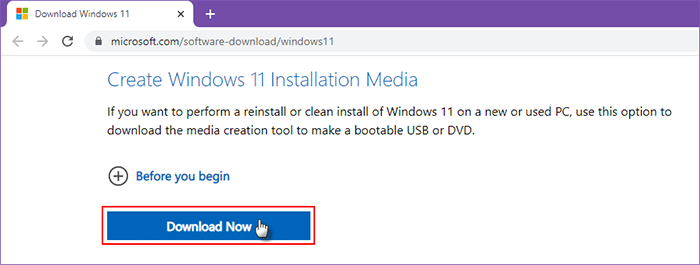
Download the Windows 11 media creation tool from Microsoft's official site.
Insert a USB flash drive into your computer. If there is important data inside, please back it up before continuing.
Double-click the downloaded Windows 11 media creation tool to run it.

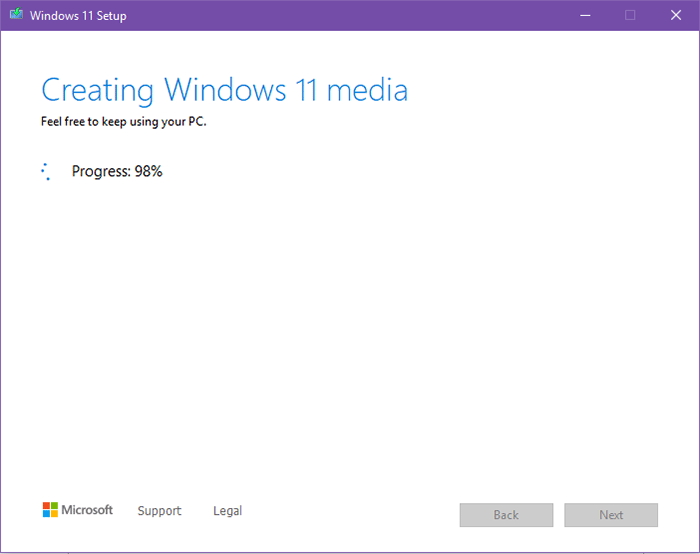
The Windows 11 Setup opens. Just follow the instructions and steps on the screen to make a Windows 11 bootable USB.
Keep the Windows 11 bootable USB flash drive connected to your computer.
Click the Windows (Start) button, then click Restart while holding the Shift key on your keyword.

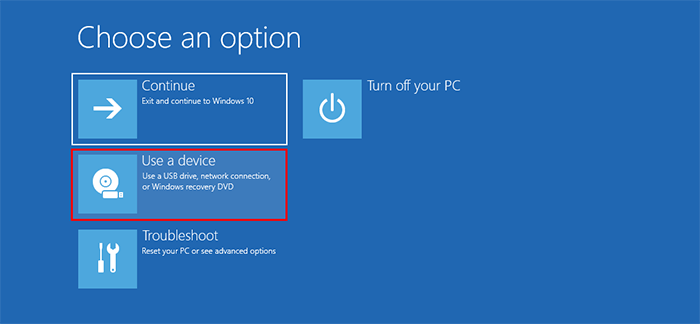
Your computer will quickly restart to the "Choose an option" screen. Choose Use a Device.
Select your USB flash drive and your computer will boot from the Windows 11 USB drive.
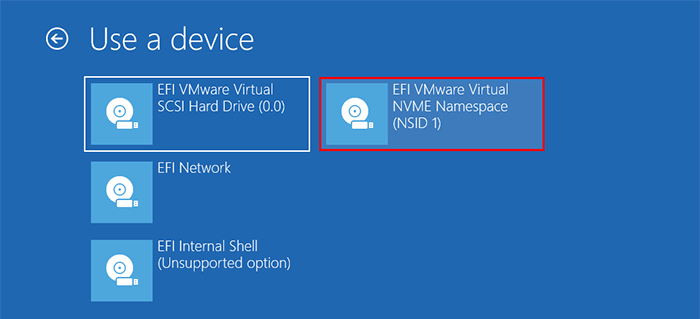
Tips: Alternatively, you can enter the boot menu or BIOS utility to set your computer to boot from the USB flash drive.
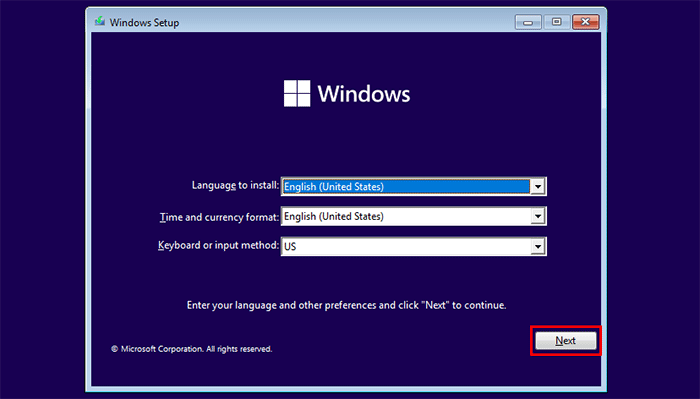
After your computer boots, you will see the Windows Setup screen. Choose your language and keyboard, and click Next.
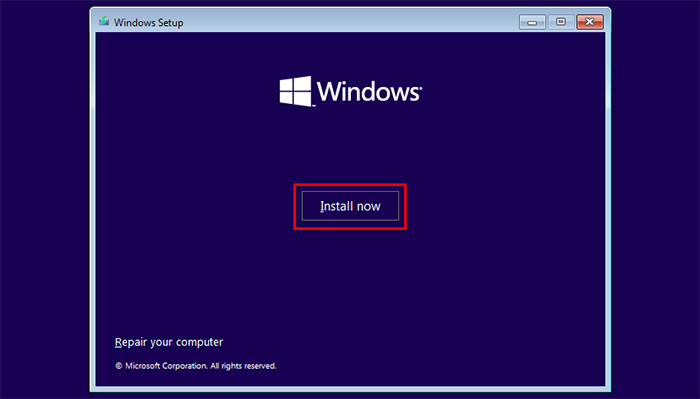
Click Install Now and Windows 11 Setup starts.
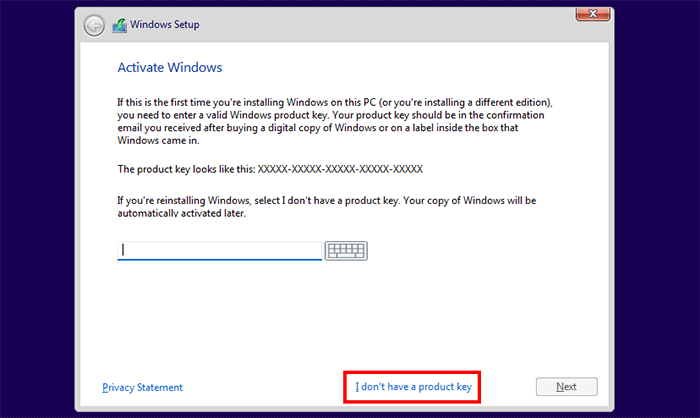
Enter your correct product key, or click I don't have a product key.
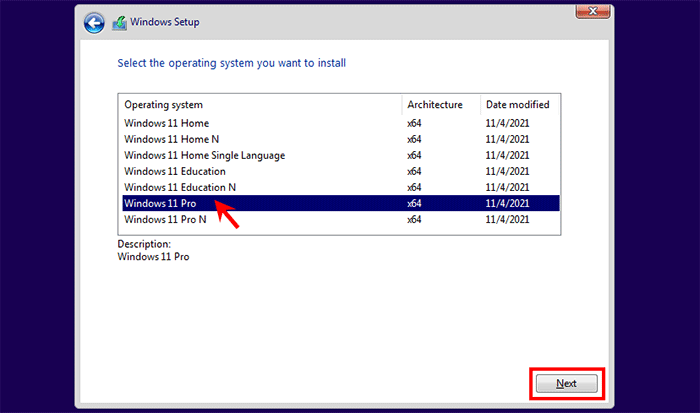
Select the Windows 11 edition you want to install, such as Windows 11 Pro, and then click Next.
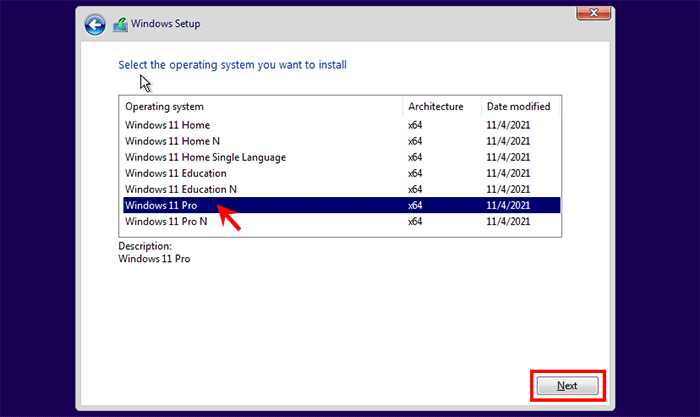
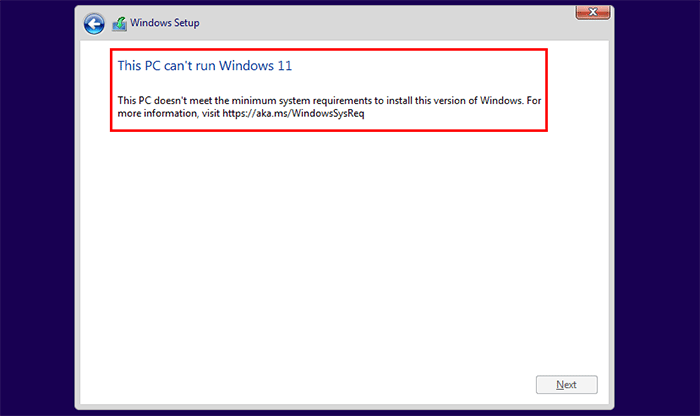
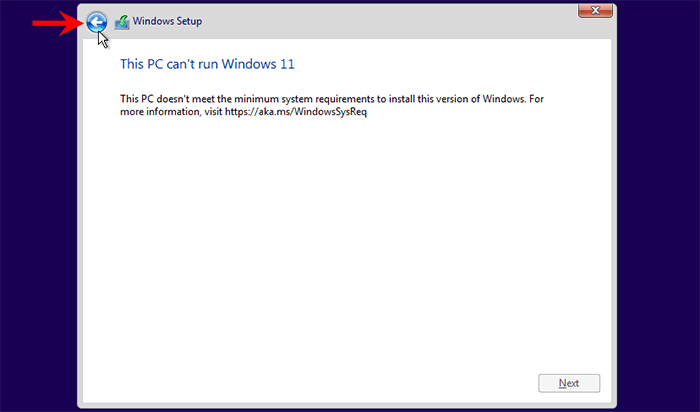
Since your PC does not have TPM 2.0 and Secure Boot, you will get the message "This PC can't run Windows 11" as shown in the figure below. Leave that window there, do not close it, and then go to the next step.
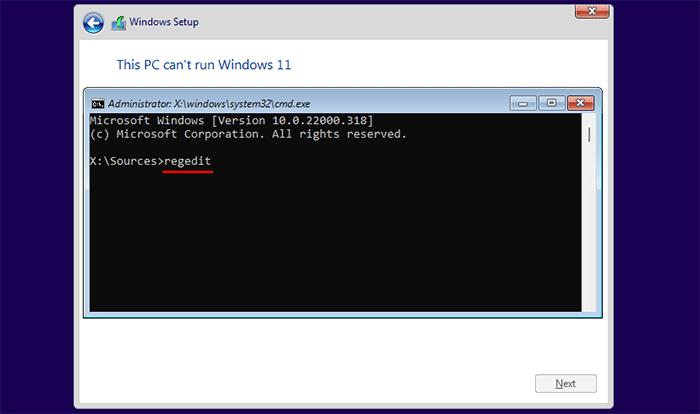
Press Shift + F10 to bring up a Command Prompt window here. Then type in regedit and press Enter. This will open the Registry Editor.
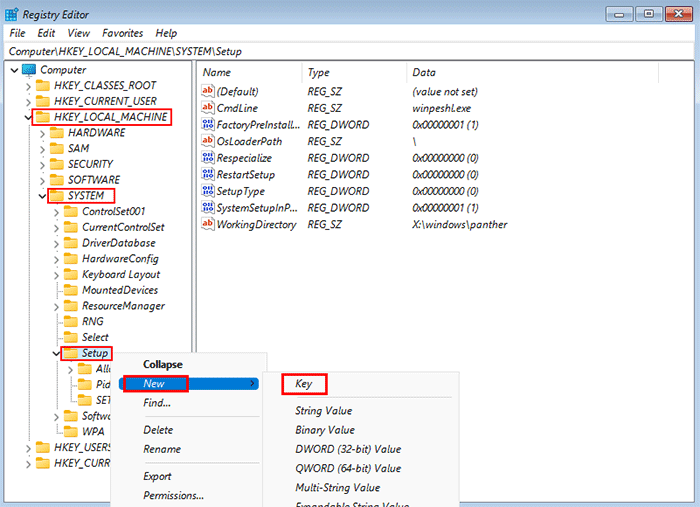
In Registry Editor, navigate to the key HKEY_LOCAL_MACHINE > SYSTEM > Setup. Then, right-click the Setup key and select New > Key to create a new subkey under it.
Name the newly created key LabConfig. Then, right-click the LabConfig key and select New > DWORD (32-bit) Value to create a new DWORD value.
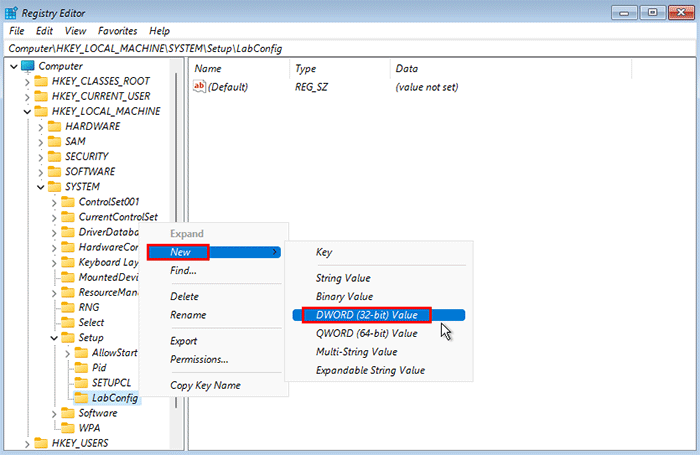
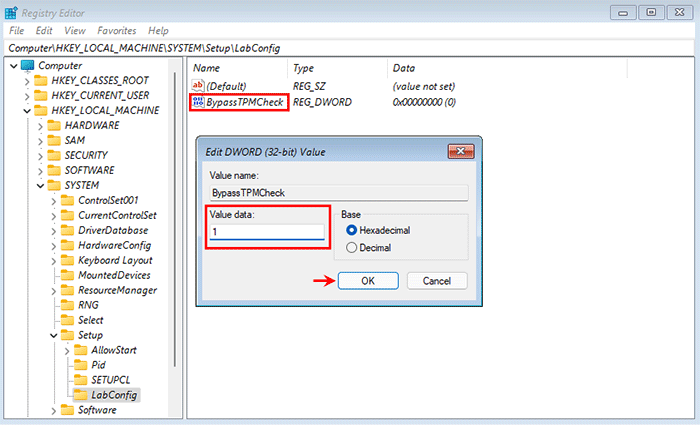
Name the newly created value BypassTPMCheck. Double-click this value, set its value data to 1, and then click OK.
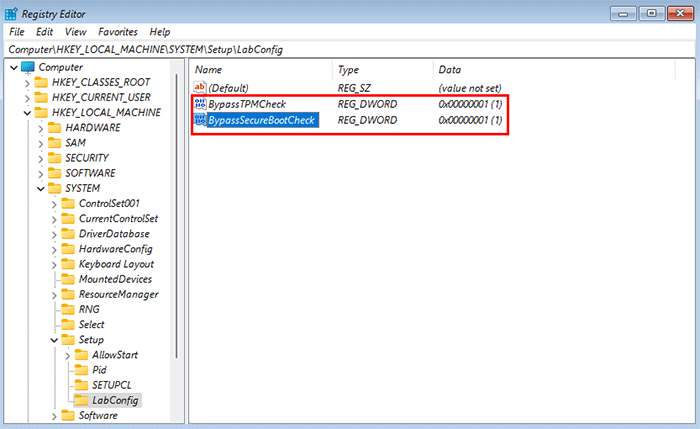
Right-click the LabConfig key again, and select New > DWORD (32-bit) Value to create another new DWORD value. Name the new value BypassSecureBootCheck and set its value data to 1.
Close the Registry Editor and Command Prompt window, and you will return to the Windows Setup window with the message "This PC can't run Windows 11". Then, click the arrow in the upper left corner of the window to return to the previous step.
Once you return to the previous step, reselect the Windows 11 edition you want to install, and click Next.
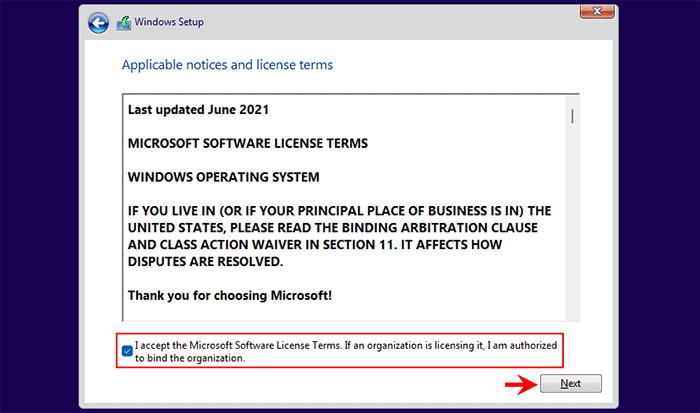
This time, Windows Setup will skip the TPM and Secure Boot checks, so you can see the applicable notices and license terms on the screen. Check the "I accept the Microsoft Software License Terms. If an organization is licensing it, I am authorized to bind the organization." check box, and then click Next.
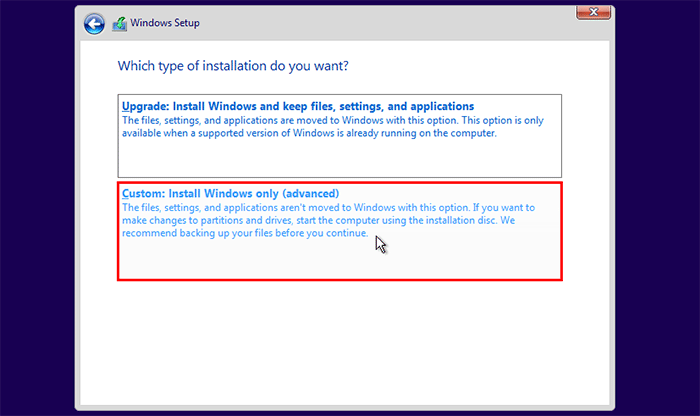
To do a clean install of Windows 11, choose the "Custom: Install Windows only (advanced)" option, and then click Next.
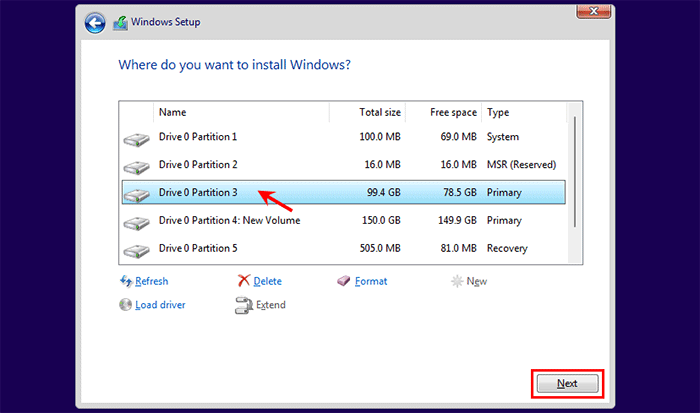
Choose the partition to which you want to install Windows 11, and then click Next.
Windows 11 is being installed on your computer without TPM 2.0 and Secure Boot. This takes some time. Just keep your computer plugged in and wait for the installation to complete.
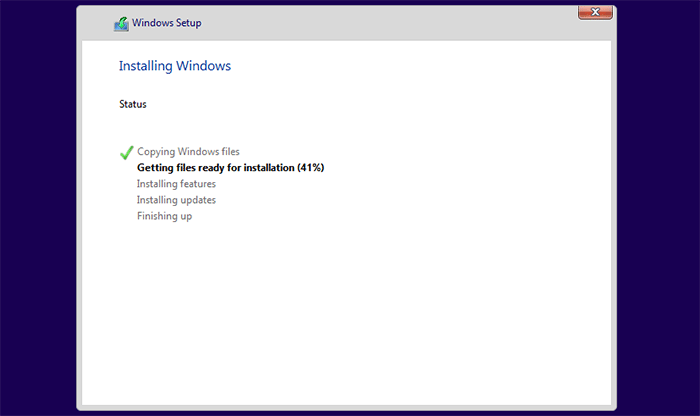
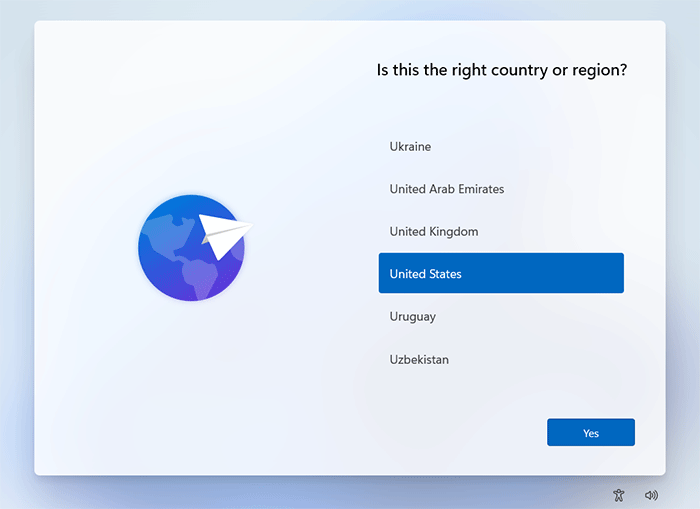
Towards the end of the installation, you need to follow the screen to answer some questions before you can get to the Windows 11 desktop. You first need to select your country and keyboard layout.
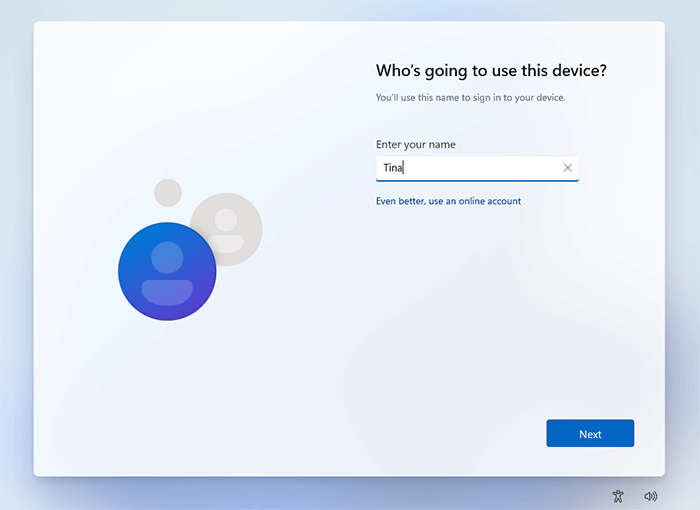
Then, you need to create a user account to use your Windows 11. You can use an online Microsoft account or an offline local account, depending on your needs.
Follow the remaining steps on the screen to complete the set-up, and then wait a few more minutes.
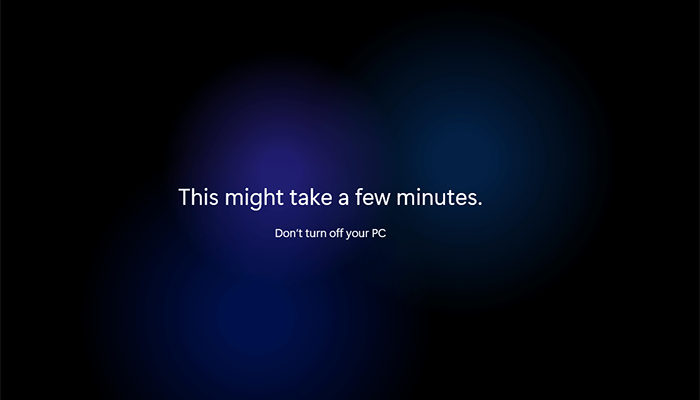
In a few minutes, you will get to the Windows 11 desktop. That's it. You've successfully installed Windows 11 on your computer without TPM 2.0 and Secure Boot.
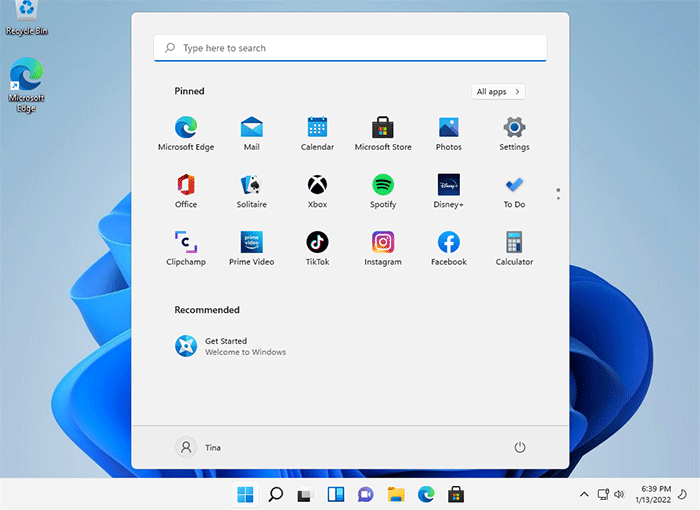
As you can see, TPM and Secure Boot are not essential for installing Windows 11. Although Microsoft does not allow it, bypassing them on computers based on Legacy BIOS does not affect running Windows 11. Finally, if you prefer to upgrade to Windows 11 on a computer without TPM 2.0, there are also some effective ways to do it. Click that link to see how.