BIOS (Basic Input Output System) is a crucial component of computer hardware, responsible for booting the OS and performing POST (Power On Self Test). The "Secure Boot" option in BIOS prevents malware and viruses from penetrating your computer. However, disabling it can enhance system performance and convenience for some users. This post will guide you through the process of disabling the "Secure Boot" option.
Secure Boot acts as a security guard for your computer, ensuring that only authorized software is loaded during the boot process. It checks the digital signatures of the operating system and drivers, preventing malware from loading. This feature is especially important for maintaining the security and integrity of your system.

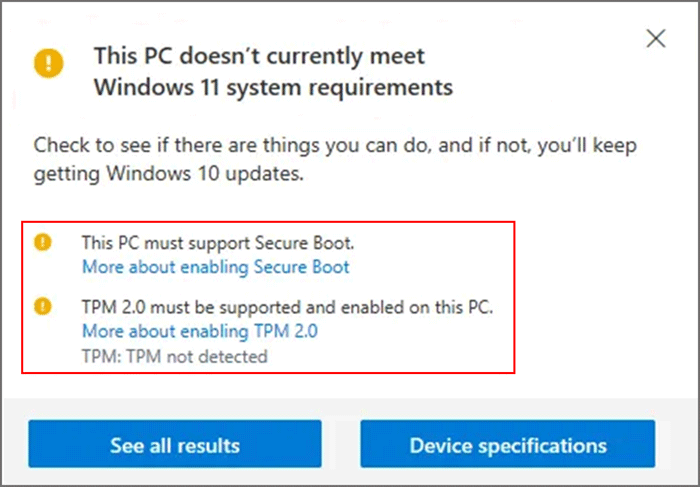
Secure Boot is typically enabled by default on computers running Windows 8 or later. Disabling it may be necessary for installing older operating systems like Windows 7 or Linux. However, it's generally recommended to keep Secure Boot enabled to maintain system security. If you need to disable it, proceed with caution and consider the potential risks.
Step 1 Enter the BIOS Settings. Press the power button, then quickly press "Delete" or "F2" (or other keys like "F12") to enter the BIOS setup.

Step 2 Navigate to the "Boot" or "Startup" menu, then select "Security" or "Setup" options.

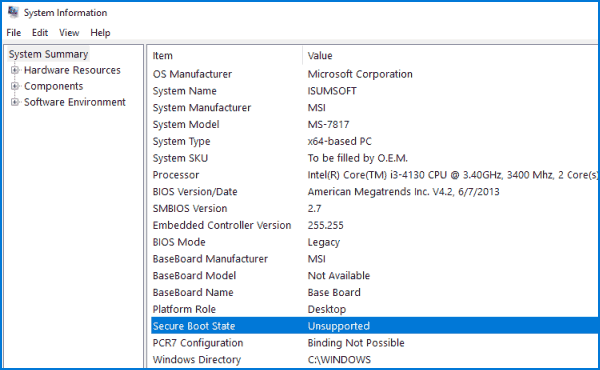
Step 3 Locate the "Secure Boot" option within the "Security" or "Setup" menu.
Step 4 Select "Secure Boot" and set it to "Disabled" or "Off".

Step 5 Save your changes and exit the BIOS settings. Secure Boot will be disabled after restarting your computer.
Disabling Secure Boot increases the risk of malware infection during the boot process. To mitigate this risk, ensure you have reliable antivirus software installed and running. This will provide an additional layer of protection for your system.

Step 1 Disable unnecessary startup programs: Use system settings or third-party software to disable unnecessary programs that launch at startup, improving boot times.

Step 2 Regularly update system drivers: Ensure your hardware operates optimally by keeping drivers up-to-date.
Step 3 Optimize your OS: Use third-party system optimization tools like iSumsoft System Refixer to clean and optimize your Windows operating system.
iSumsoft System Refixer is a practical tool designed to clean and optimize Windows, enhancing startup and operational efficiency. You can download it for free and optimize your system.
iSumsoft System Refixer
Step 4 Keep antivirus software up-to-date: Install reliable antivirus software and enable real-time monitoring for enhanced protection.
Step 5 Regularly back up data: Back up critical data to prevent loss in case of system failure or malware attack.

Disabling Secure Boot can improve system performance but may compromise security. Understand the risks and take necessary precautions to maintain system security. Regularly update your antivirus software and back up critical data to ensure system integrity.