WordPad is a word processor software with basic formatting options, and it is included in all versions of Windows Operating System. Here this article will guide you how to open and use WordPad in Windows 10 and reset its settings if things go wrong.
There are 4 ways to start a WordPad and create a new rick text document.
Press Win+R to open Run box. Input WordPad, then hit Enter.
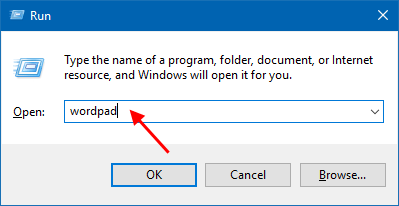
A new blank and untitled WordPad will be automatically launched on your computer.
Type wordpad into taskbar search box, and press Enter.
![]()
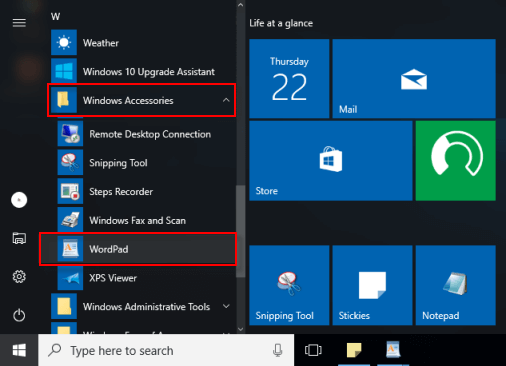
Go to the Start Menu and click All apps, you can find it under Windows Accessories folder.
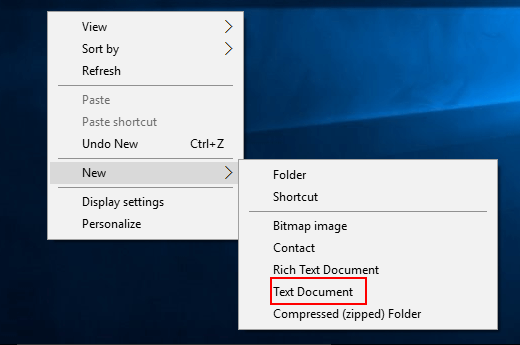
Right-click on blank area in Desktop or File Explorer, select New > Rich Text Document.
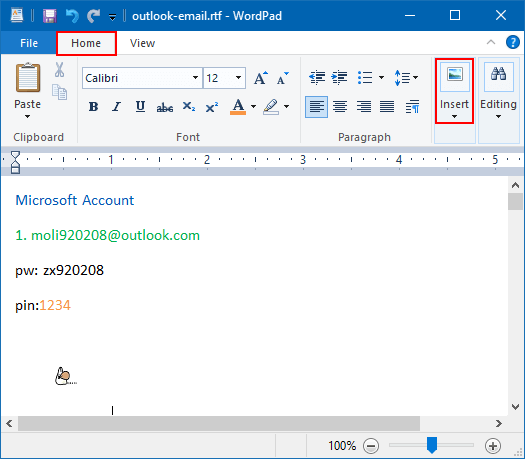
1. Specify the font for text by changing the font settings.
Click the Home options, change the font setting as you want. Here you can even insert a image, if you like.
2. Change the appearance of a WordPad document.
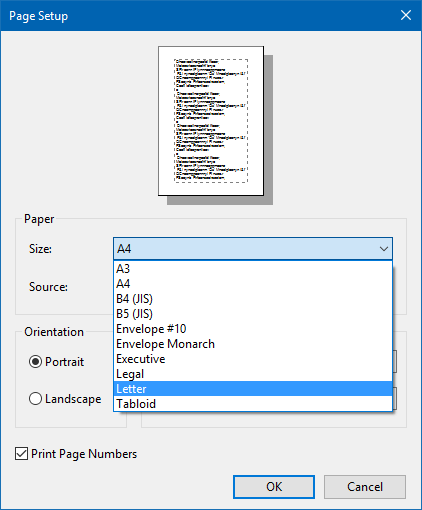
On the File menu, click Page Setup. In the Page Setup dialog box, click a size in Size.
To qiuckly print a WordPad Document use shortcut key: Ctrl+P.
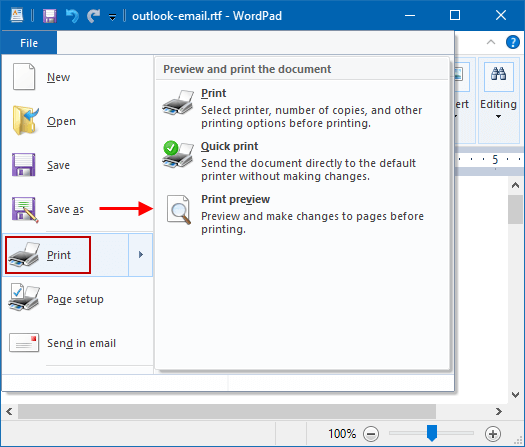
Step 1: In a WordPad document, click on File option, then click on Print option.
Step 2: To see how your document will look before you print it, click Print Preview.
Step 3: Select the printer and preferences you want, and then click Print.
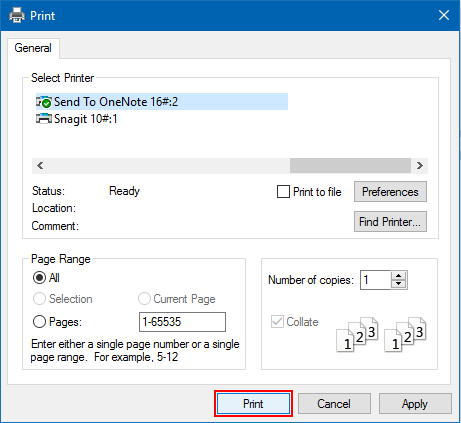
Note: You must have a default printer set in the Printers folder.
Learn more how to conntect a printer see 2 Ways to Connect a Printer to Over Newwork.
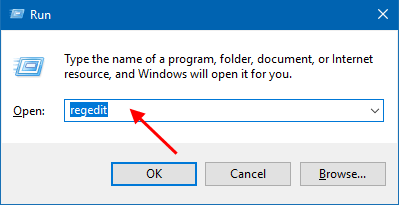
Step 1: Press Win+R to open Run, type regedit, and hit Enter.
Step 2: In Registry Editor, navigate to the following key:
HKEY_CURRENT_USER\SOFTWARE\Microsoft\Windows\CurrentVersion\Applets\Wordpad
On the right pane of Registry Editor, under WordPad, delete Options key.
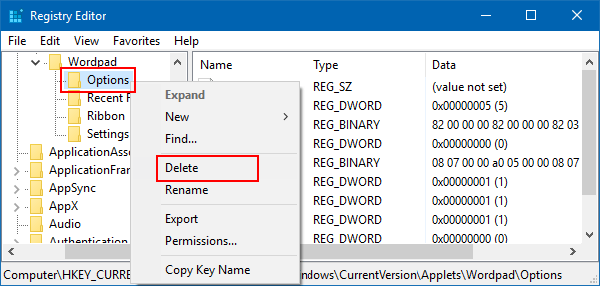
Exit and open WordPad again, you will see it with its default settings.