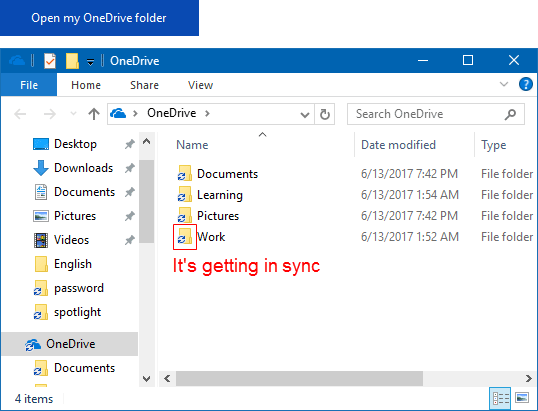
Windows 10 syncs your OneDrive online with the OneDrive folder on your PC. By default, Windows stores your OneDrive folder in your account's %UserProfile% folder. In order to free up C drive space, you can change where files in this OneDrive folder are stored to another drive.
To change the default location of your OneDrive folder to where you want in Windows 10, here's how:
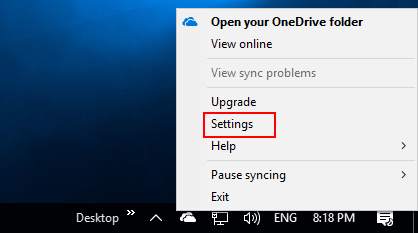
Step 1: Right-click on OneDrive icon on the taskbar notification area, and then click Settings.
Step 2: Select the Account tab, and then click Unlink this PC. Click Unlink account button to confirm.
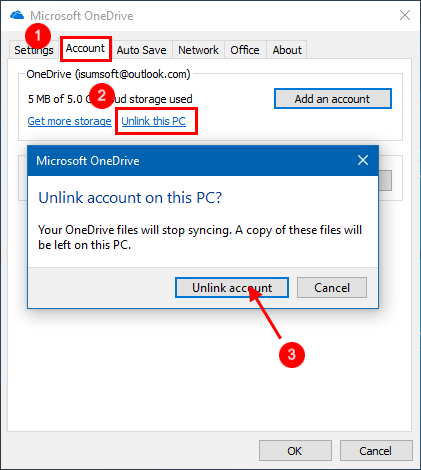
Leave this Setup OneDrive window open for now.
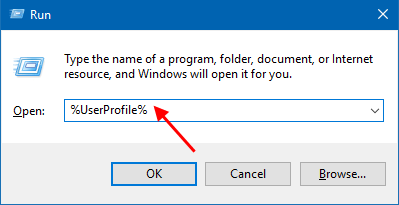
Step 3: Open OneDrive folder in File Explorer.
Press Win+R keys to open Run dialog, then input %UserProfile%, hit Enter.
Step 4: Select OneDrive folder, click on the Home tab, and click on the Move to button in the ribbon, and then click on Choose location in the drop-down list.
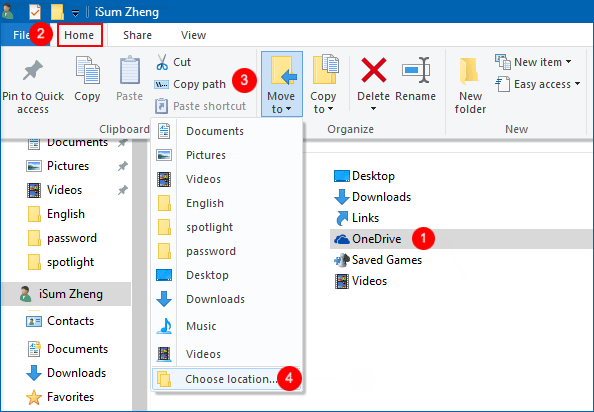
Step 5: Browse to and select the location where you want to move your OneDrive folder, and click on Move.
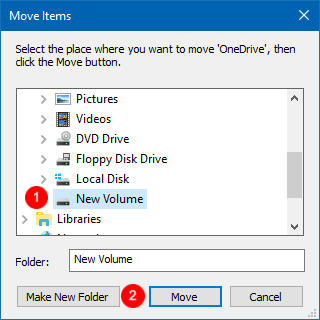
The OneDrive folder and all of its contents will now start moving to the new location.
Step 6: When it has finished moving, return to the Set up OneDrive window. Enter your Microsoft account, then click Sign in.
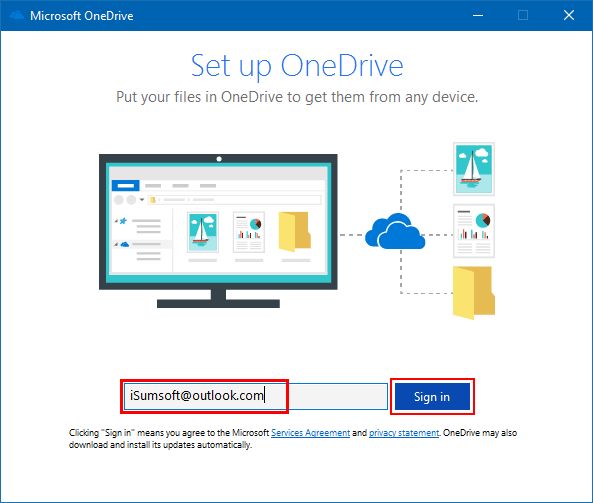
Step 7: Enter the password for your Microsoft account, and click on Sign in.

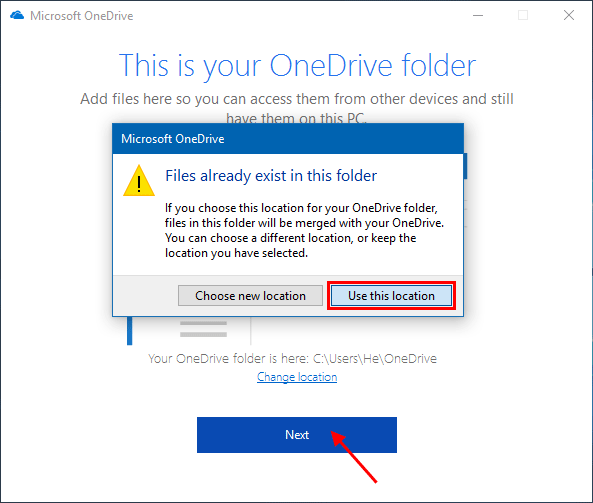
Step 8: In the opening window, click the Change Location link.
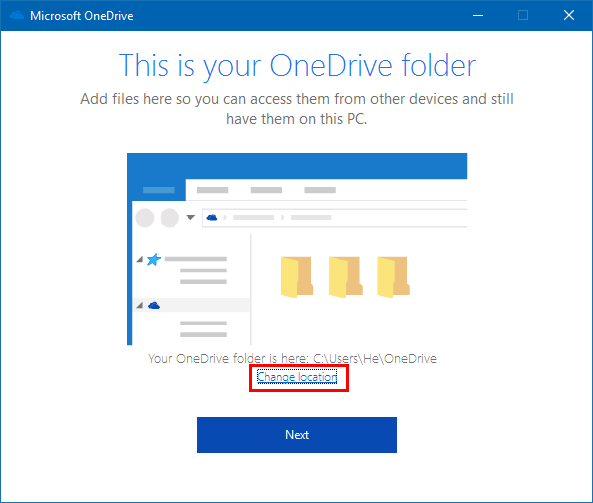
Step 9: Browse to the location where you moved your OneDrive folder to, select the OneDrive folder, and click on Select Folder.

Step 10: Click Use this location, then click the Next button.
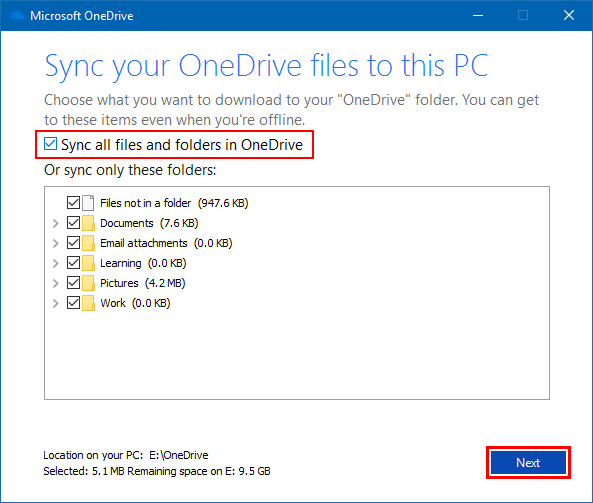
Step 11: Choose what you want to download (sync) to your OneDrive folder on the PC, and click on Next.
Step 12: Click Open OneDrive in my folder. You will see your OneDrive folder is now at the new location syncing the folders you had chosen.
