If you are suffering from the low space issues, you can move Documents and other personal folders from the default system drive to another drive. This article will show you how to change the default save location for Documents, Music, Picture and Video files. You can use any internal, external, or removable drives as storage save location.
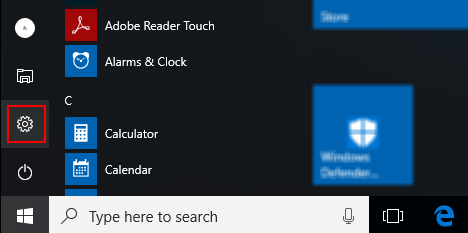
Step 1: Go to Start menu, click the Settings icon.

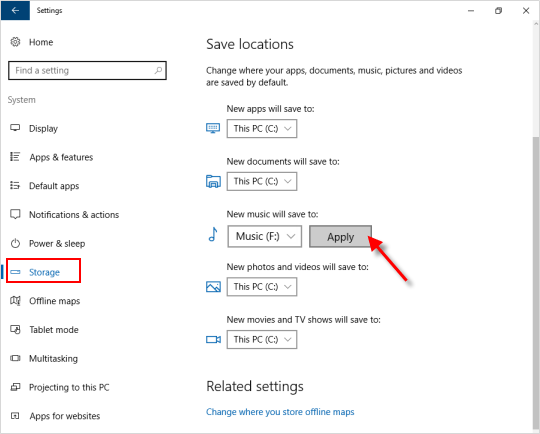
Step 2: Click on System, and then click Storage on the left pane.
Step 3: On the right pane, navigate to Save locations section. Select the location from the drop-down menu for Document, Music, Pictures & Videos.

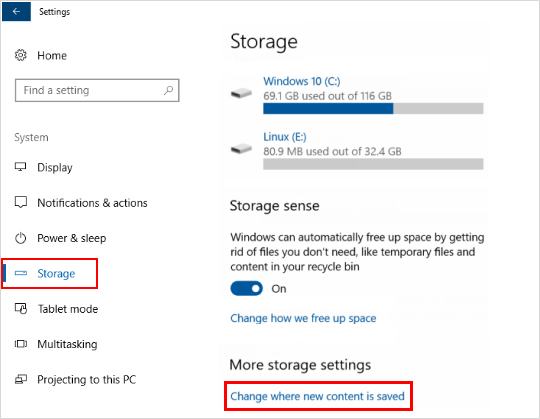
Step 1: Open Settings app, click System.
Step 2: Select Storage on the left pane, click on Change where new content is saved link under More storage settings on the right side.

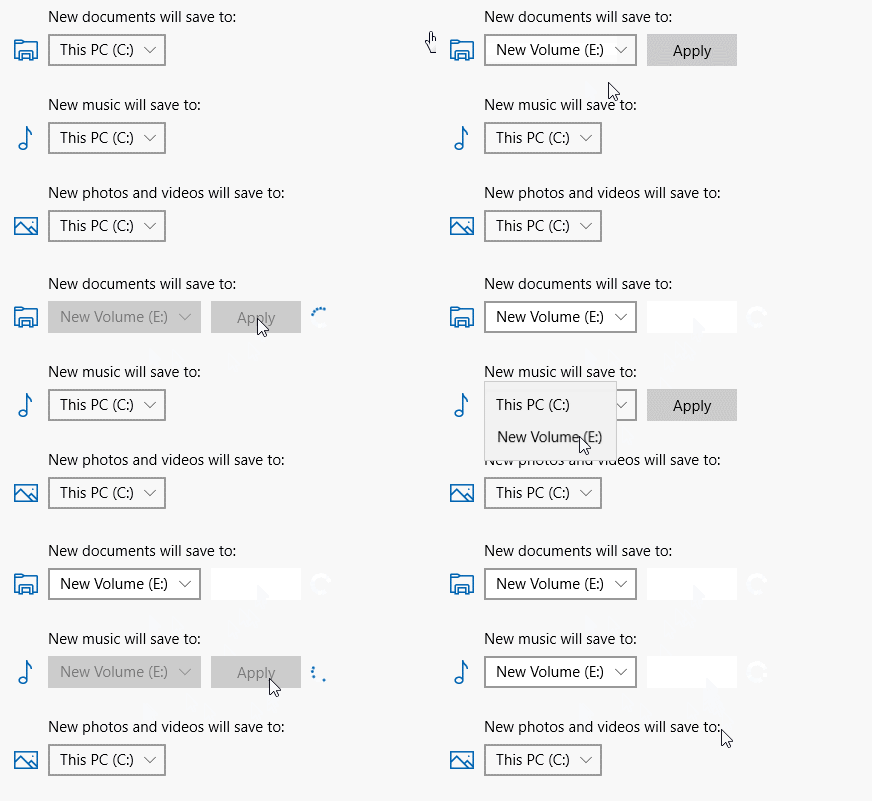
Step 3: Select the drive to where you want your apps, documents, music, photos and videos, movies and TV shows, and offline maps to be saved to by default, and then click on Apply.

The new storage location you select will automatically be included in the same documents, music, pictures, or videos library as your default save location. This way, when you save items in the library, it will actually be saved to the selected storage location.