Sometimes in Windows 11, when you try to access the shared folder on other people's computers on the LAN (Local Area Network), or when other people visit the shared folder on your computer, you find that you can't access it, with a message saying that you don't have permission or that you can't connect. In this article, we will discuss how to fix Windows 11 cannot access shared folders.

Note: To access the shared folder, make sure the computers are connected to the same network.
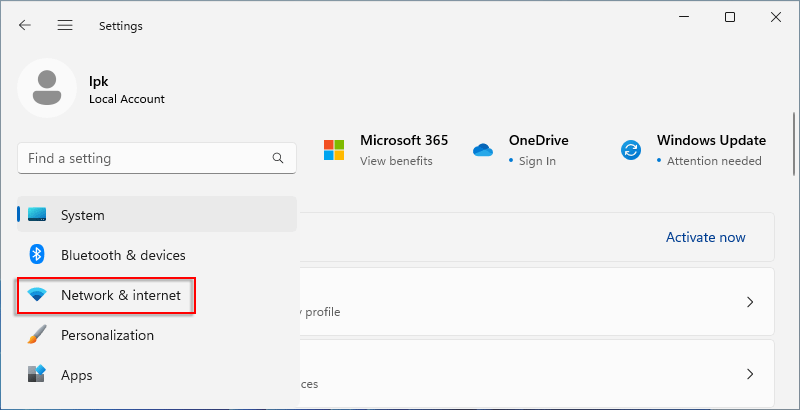
Step 1: Right-click on the Win icon and select Settings.

Step 2: Click Network & internet.
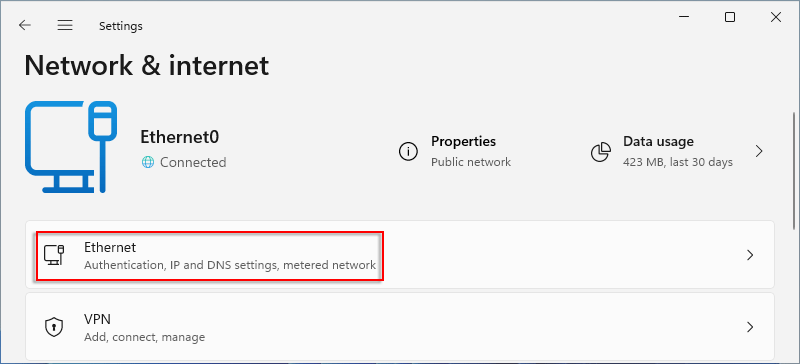
Step 3: Here you can see the computer is connected to the network. Click Ethernet.
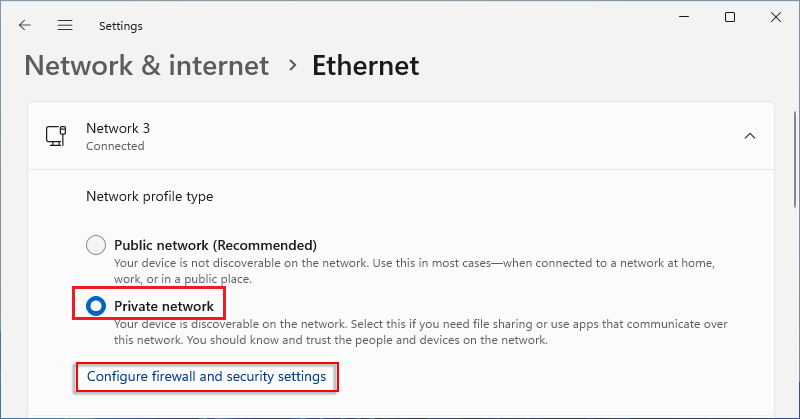
Step 4: Check Private network and then click Configure firewall and security settings.
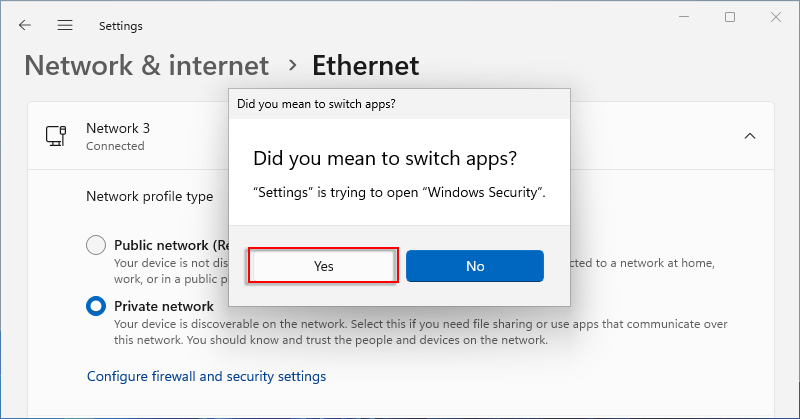
Step 5: If prompted Yes or No, click Yes.
Step 6: Locate and click Advanced settings. If asked Yes or No, click Yes.
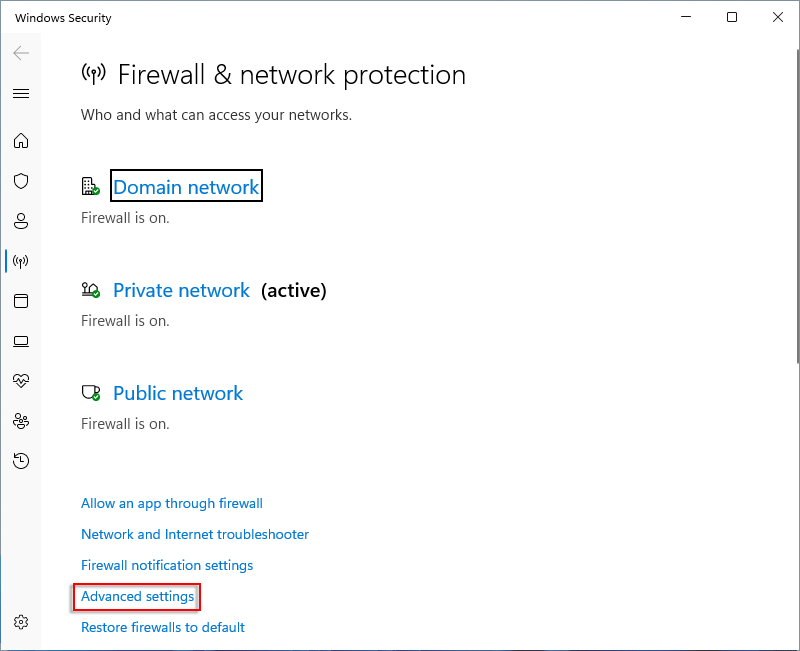
Step 7: Here, click Inbound Rules on the left side. Scroll down and locate File and Printer Sharing (NB-Session-In) on the right side, then right-click on it and select Enable Rule.

Step 8: Similarly, find File and Printer Sharing (SMB-In), then right-click on it and select Enable Rule.

Step 9: Back to Network &internet settings, then choose Advanced network settings.
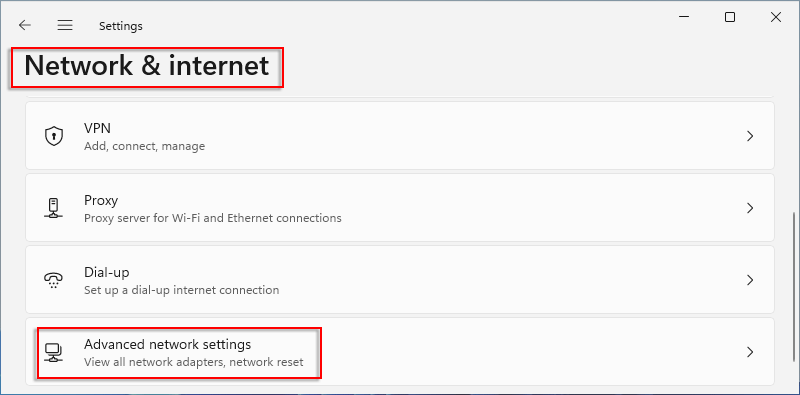
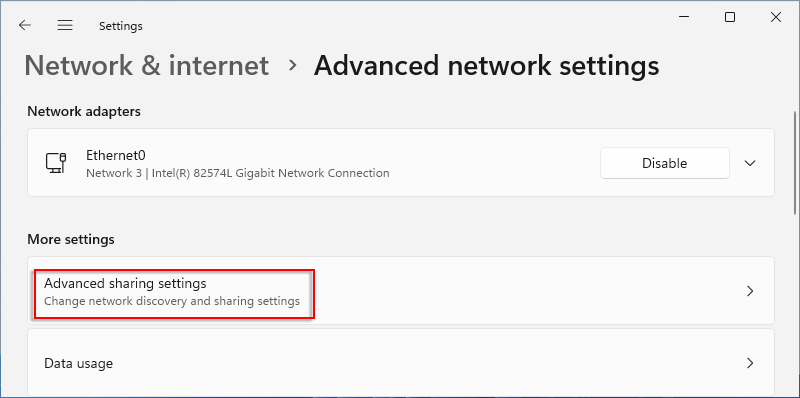
Step 10: Click Advanced sharing settings.
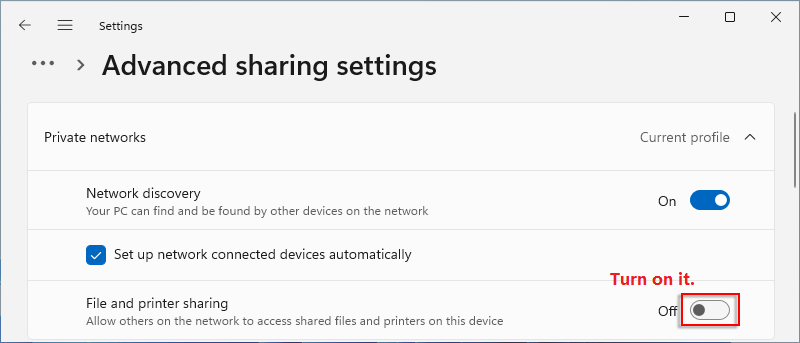
Step 11: Under Private networks, toggle on File and printer sharing.
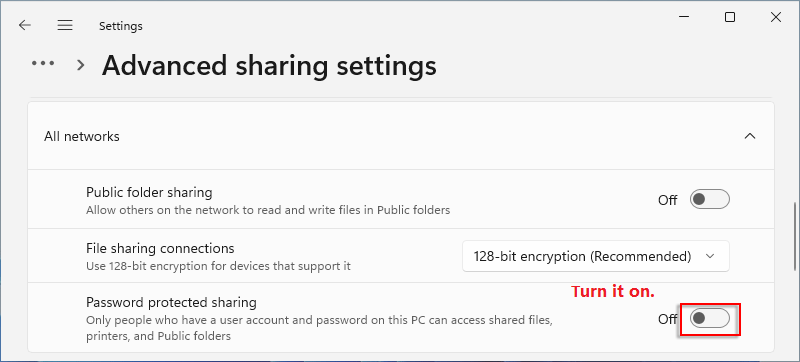
Step 12: Then, scroll down and locate All networks, then turn Password protected sharing on.
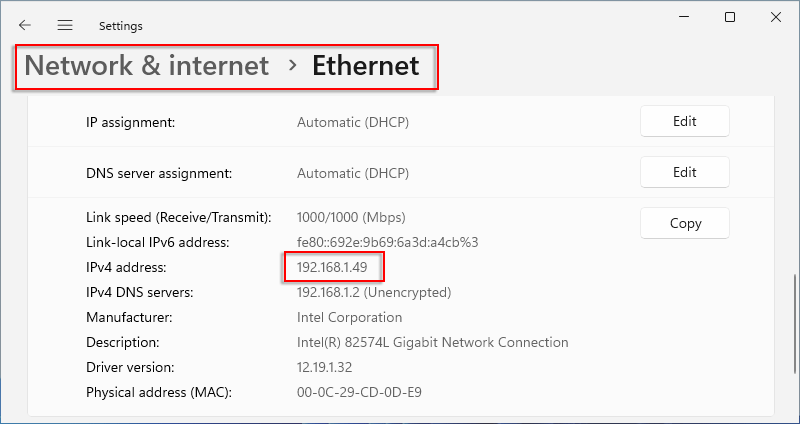
Now others can access shared folders on your computer. For instance, if someone wants to access the shared folder on your computer, you need to provide your IP address. By doing so, go to Network & internet > Ethernet. Here you can view your IP address.
1. On his (or her) PC, open File Explorer and enter the IP address on the address bar.

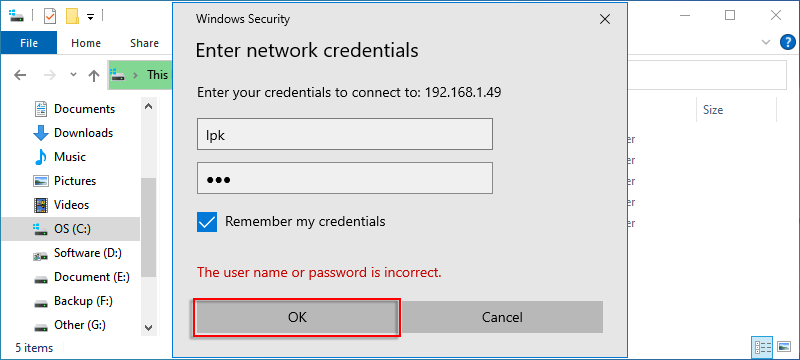
2. After pressing Enter, he (or she) is prompted to provide your username and password. Then click OK.
3. Successfully access the shared folder.
