The Hibernate mode saves all of your open documents and running apps while turning off the PC, and resumes everything where you left off when you wake your PC up, which is more power saving and time-saving than Sleep mode. If you want to make your Windows 10 PC hibernate but can't find any Hibernate button, that's because Hibernate is disabled by default and you need to manually enable it before you can use it.
Here in this page, we will explain how to enable or disable Hibernate in Windows 10.
Step 1: Open Command Prompt as administrator.
Step 2: Type powercfg /hibernate on and press Enter key.
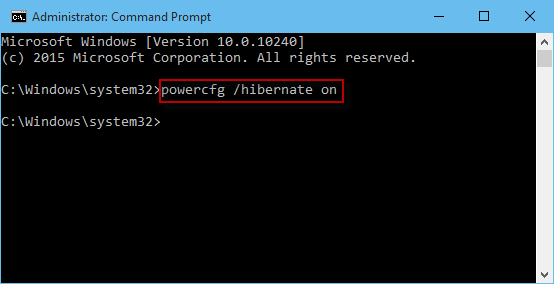
Then Hibernate is turned on in Windows 10. Next, you can add Hibernate to Power menu to make it convenient for you to make your Windows 10 PC hibernate as your desire.
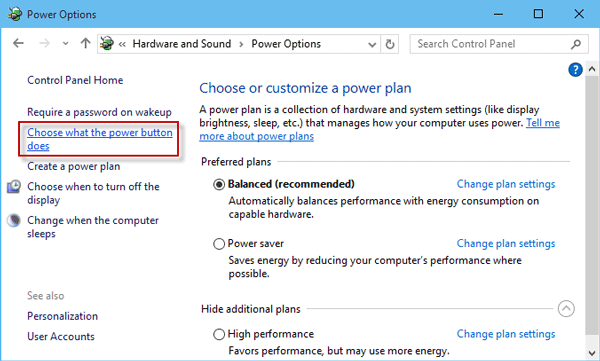
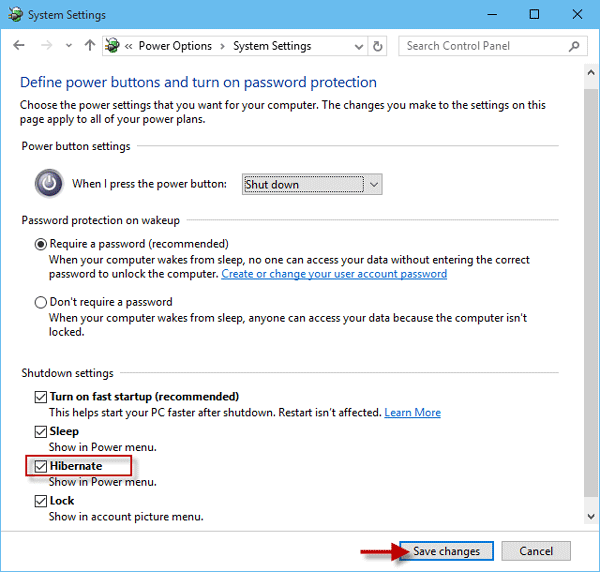
Step 1: Open Control Panel. Then go to Hardware and Sound > Power Options > Choose what the power button does.
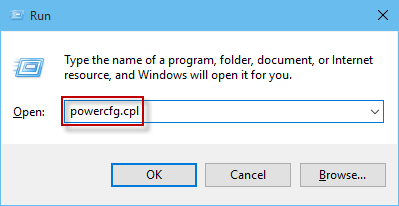
Alternative: You can also press Win + R keyboard shortcuts to bring up the Run dialog. Then type powercfg.cpl and press Enter key to quickly access to Power Options. Then click Choose what the power button does link on the left-side pane.
Step 2: Click Change settings that are currently unavailable link.
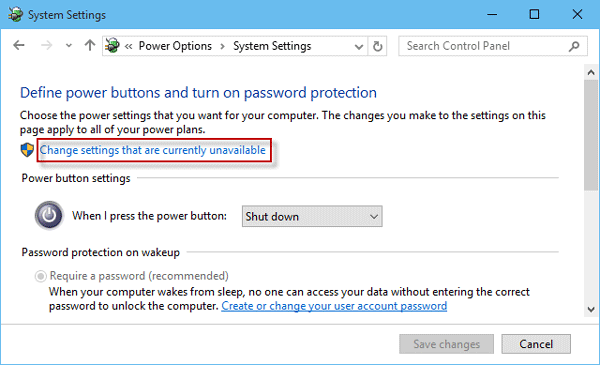
Step 3: Check the box next to Hibernate and click Save changes.
Step 1: Open the Run dialog. Type gpedit.msc and press Enter. This will open the Local Group Policy Editor.

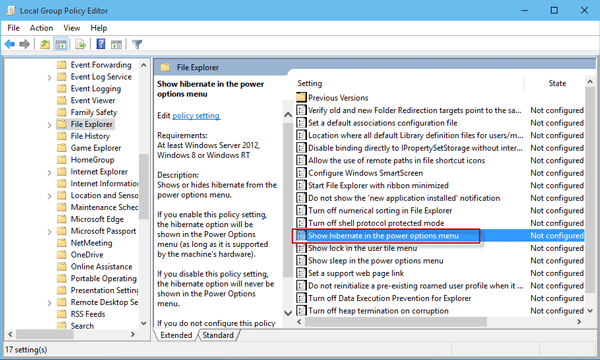
Step 2: Go to Computer Configuration/Administrative Templates/Windows Components/File Explorer. Double-click on Show hibernate in the power options menu.
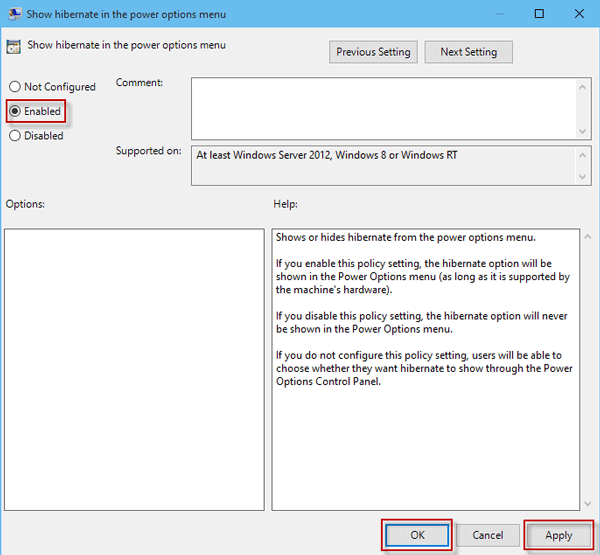
Step 3: Check Enabled. Then click Apply and OK.
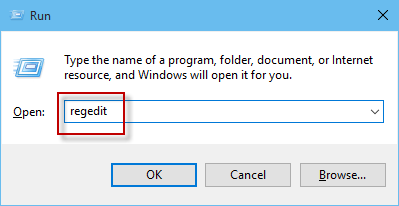
Step 1: Press Win + R keys to open the Run dialog. Type regedit and press Enter key to open Registry Editor.
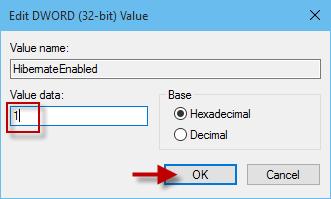
Step 2: Go to Computer\HKEY_LOCAL_MACHINE\SYSTEM\CurrentControlSet\Control\Power. Double-click on HibernateEnabled.

Step 3: Set the value data to 1 and click OK.
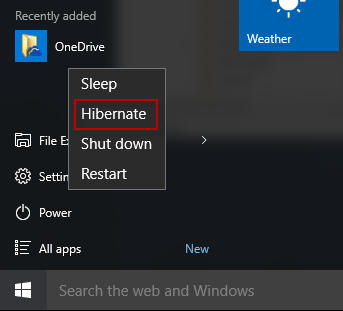
By either way above, Hibernate will be enabled to show in the Power options menu of the Windows 10 Start menu. Notably, only after you turn on Hibernate by Command Prompt, can you enable it to show in the Power options menu.
In order to completely turn off Hibernation and disable it to show in the Power options menu, just need to open Command Prompt as an administrator, type powercfg /hibernate off and press Enter key. This is helpful for those who want to free up disk space. See how to delete Hibernation file in Windows PC to learn more.