Guided Access is a useful feature that helps Apple users limit what they can do in an application to protect privacy or prevent misoperation. However, sometimes your iPhone will suddenly get stuck in guided access. Wondering how to fix iPhone stuck in guided access? Try the methods mentioned in this article!

If you can get into settings, try the ways to shut down your iPhone: Settings → General → Shut Down.
If you cannot, force restart with these buttons in different models.
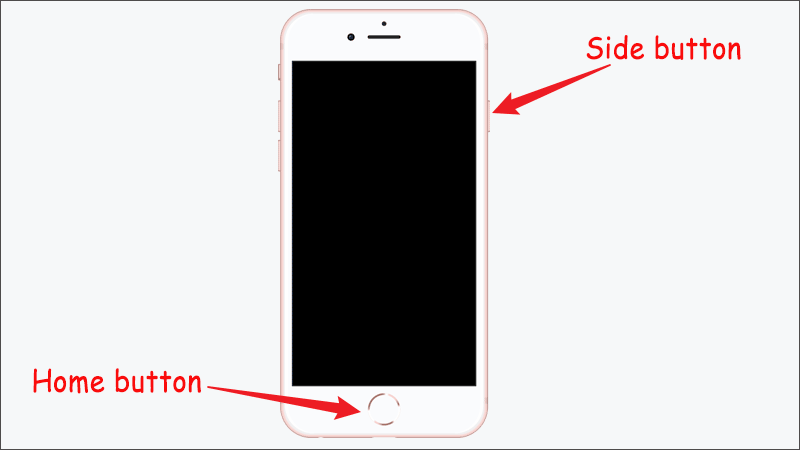
• iPhone 6s or older: Hold the Home button and Side button together until you see the Apple logo.
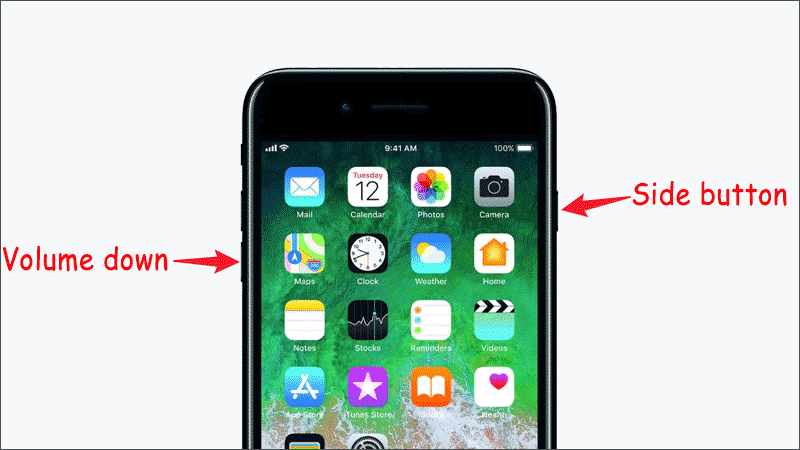
• iPhone 7 or iPhone 7 Plus: Hold the Volume Down button and the Side button simultaneously. Release both buttons at the same time when the Apple logo appears.
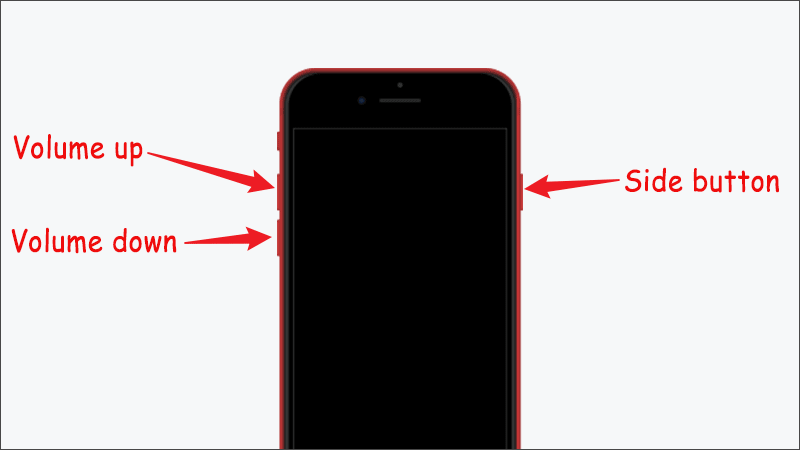
• iPhone 8 or later: Press Vol + button → Press Vol - button → Hold Side button.
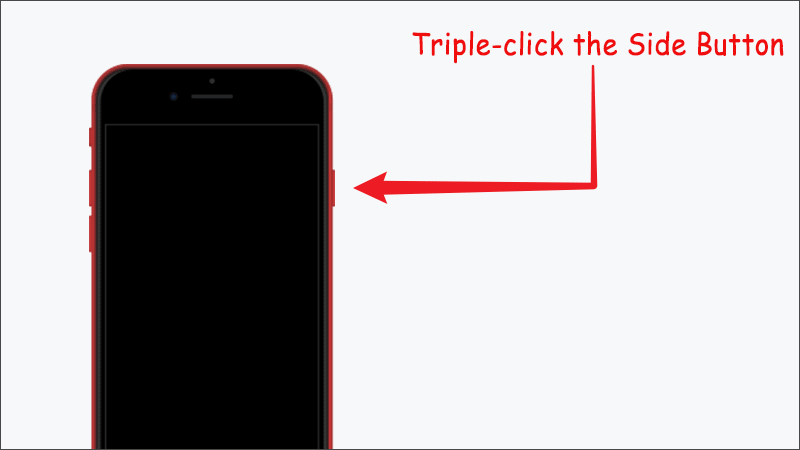
There is a way that you can exit Guided Access mode, simply triple-click the Side button and then enter the guided access passcode to exit.
The following Methods 3 & 4 are suitable for the situation where the guided access triple clicks not working.
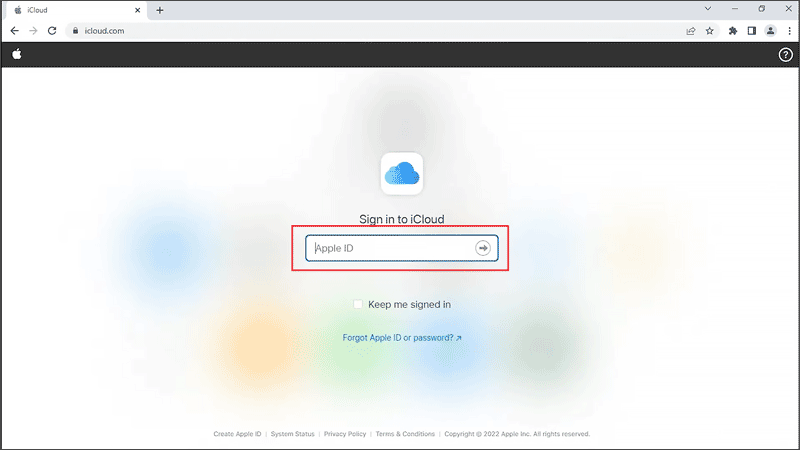
Step 1: Visit the iCloud website → Sign in to iCloud.
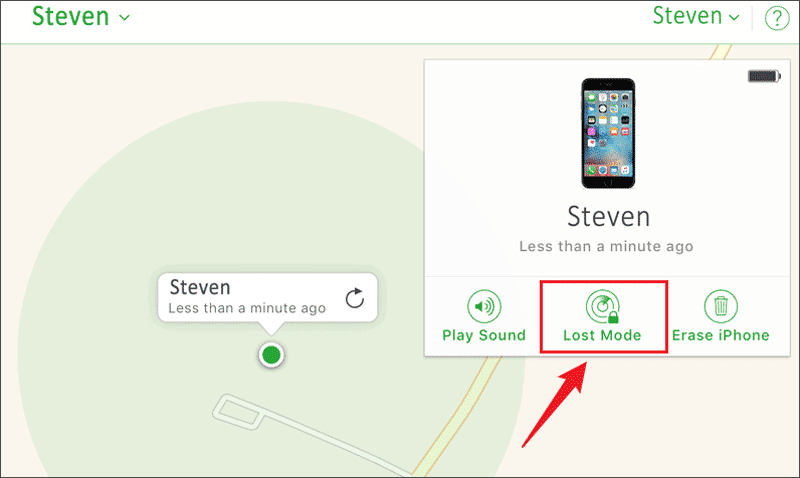
Step 2: Click Find iPhone → All Device → Choose your iPhone → Click Lost Mode. Then your phone will forcibly back to the lock screen. You are successfully exiting the guided access stuck page.
iSumsoft iOS Refixer is a safe and professional software designed for fixing iOS-related problems. Here are the steps to fix iPhone stuck in guided access using iOS Refixer.

iSumsoft iOS Refixer
Step 1: Download and install iSumsoft iOS Refixer.
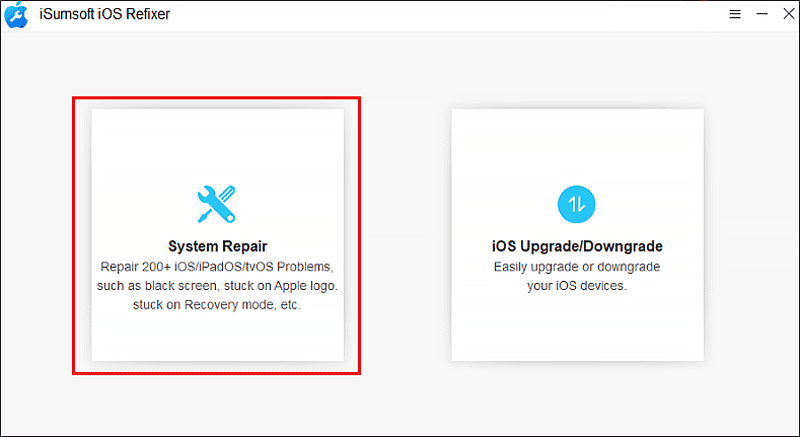
Step 2: Click System Repair.
Note:
Step 3: Select Standard Mode.
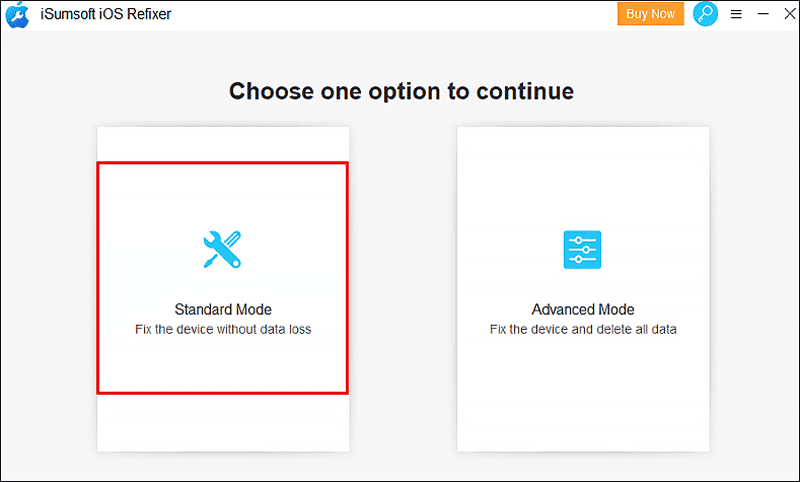
There also is an Advanced Mode, which is a more effective choice to fix the issues, but it will clear all your iPhone data.
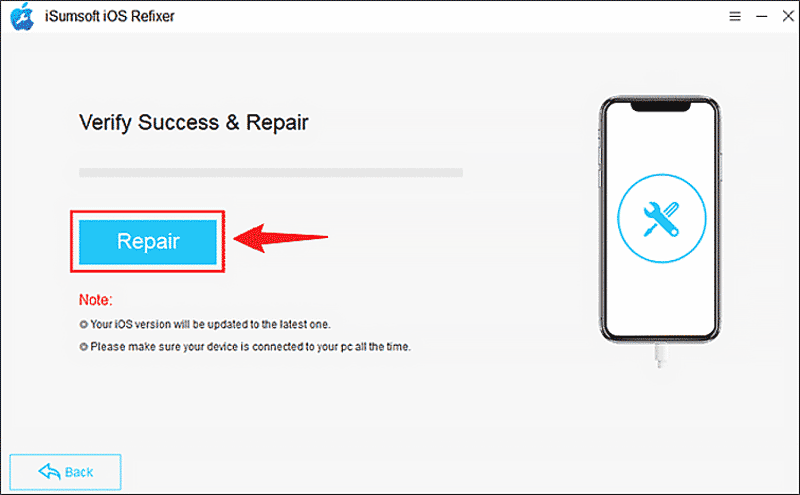
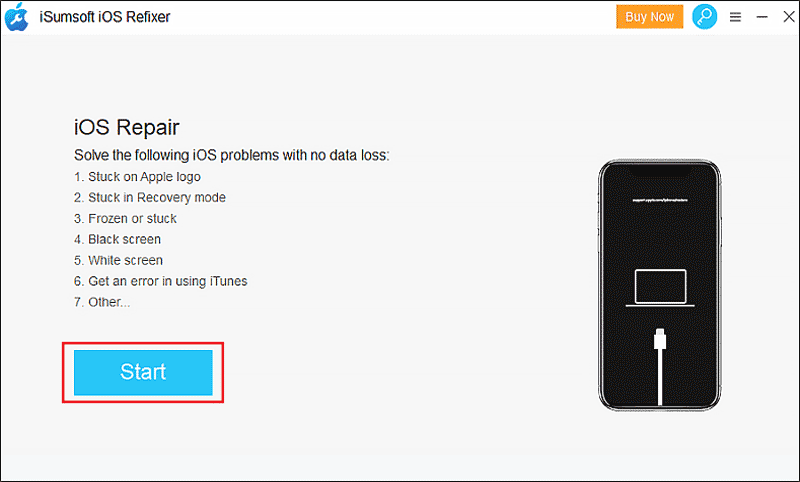
Step 4: Click Start to begin the repairing process.
Step 5: Download the firmware package.
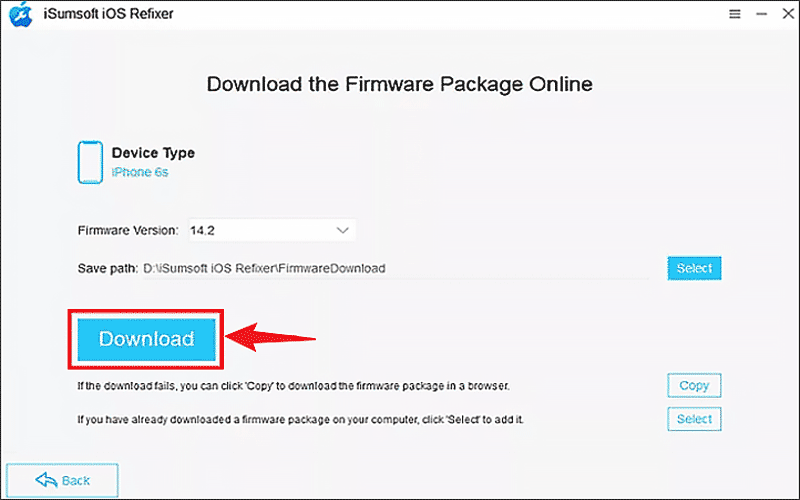
Step 6: Click Repair. The repair process may last a few minutes. When the it pops up the Repair Successfully dialogue, your phone will restart and back to the lock screen. Then you can use the passcode to open your phone.
