Accidentally deleted an important file on your computer? The hard drive was suddenly formatted or corrupted and all your data disappeared in an instant? Don't worry; iSumsoft Data Refixer can help you recover deleted and lost data easily.
In this step-by-step guide, we will show you how to use iSumsoft Data Refixer to recover lost data on a Windows computer. You need to download and install iSumsoft Data Refixer on your PC, launch the software, and then follow the steps below.
Video Guide on How to Use iSumsoft Data Refixer to recover lost data
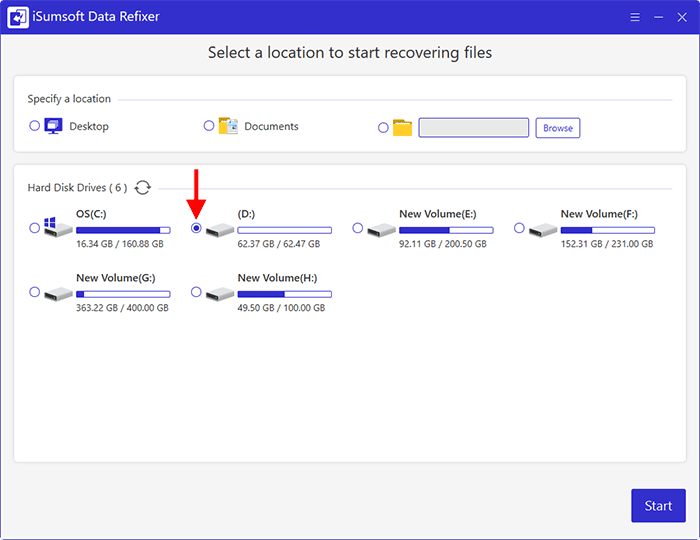
1. Select the folder (such as the Desktop, Documents, or any folder you specify) or drive (such as D:) where the files were deleted or lost.
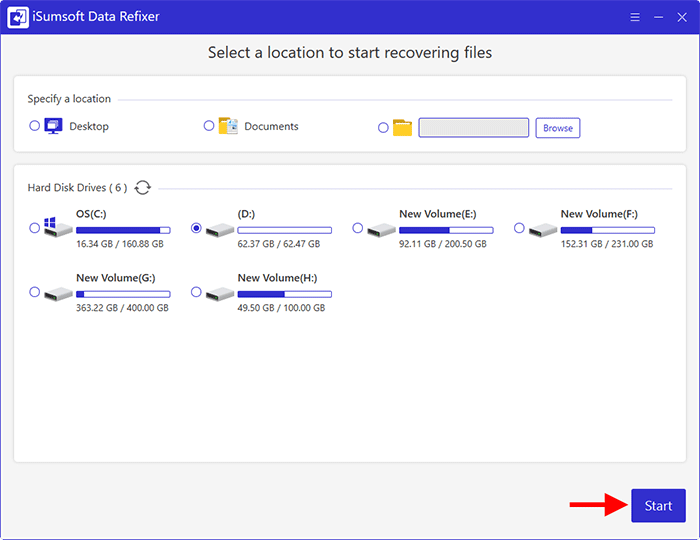
2. Click the Start button in the lower right corner of the interface. The software will immediately start a deep scan of the selected location to find deleted and lost files.
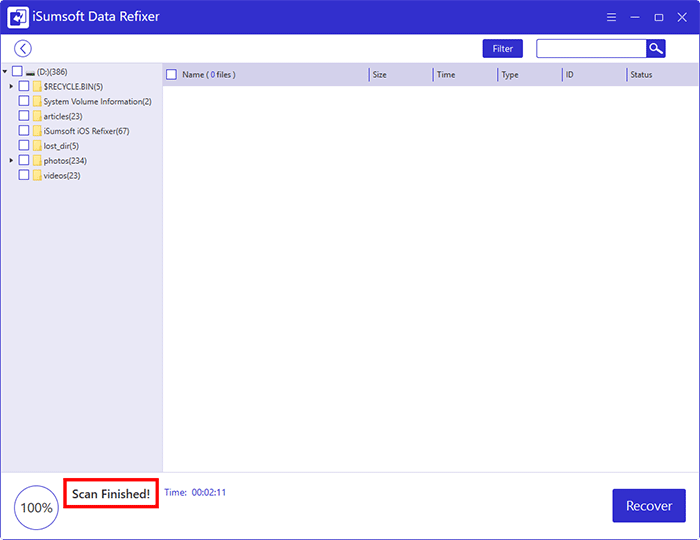
3. Wait for the scan to complete. It will take a while, depending on the used space of the drive being scanned as well as the computer performance. You can see the scanning progress at the bottom of the interface.
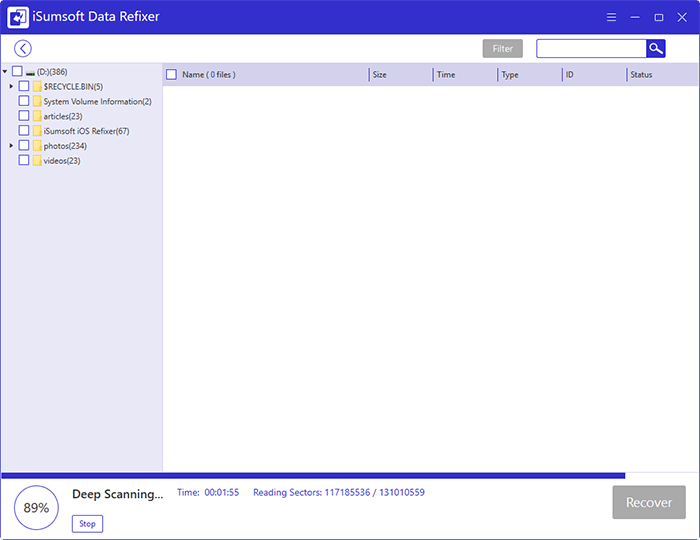
4. When "Scan Finished" is displayed in the lower left corner of the interface, it means the scan has been completed.
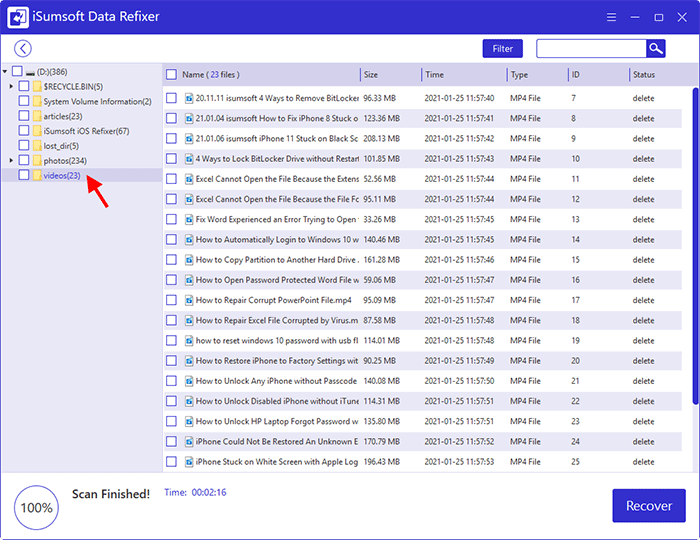
1. When the scan is complete, all found folders are displayed on the left side. Click on each folder and you can preview all the files contained in it from the right side.
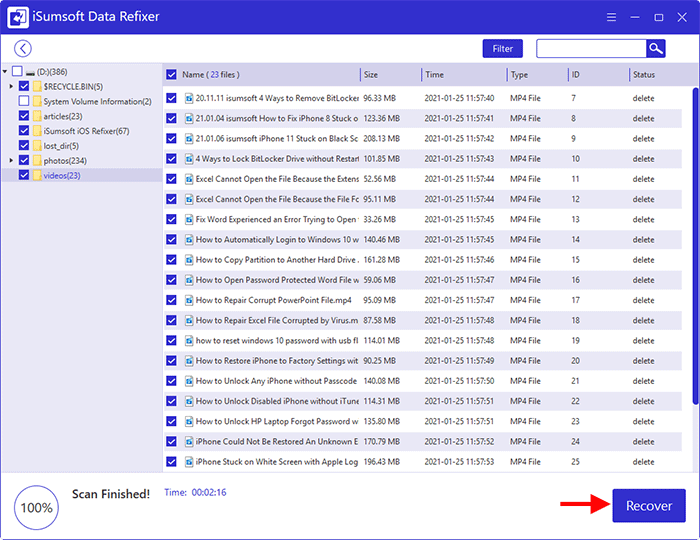
2. Select all the folders/files you want to recover, and then click the Recover button in the lower right corner.
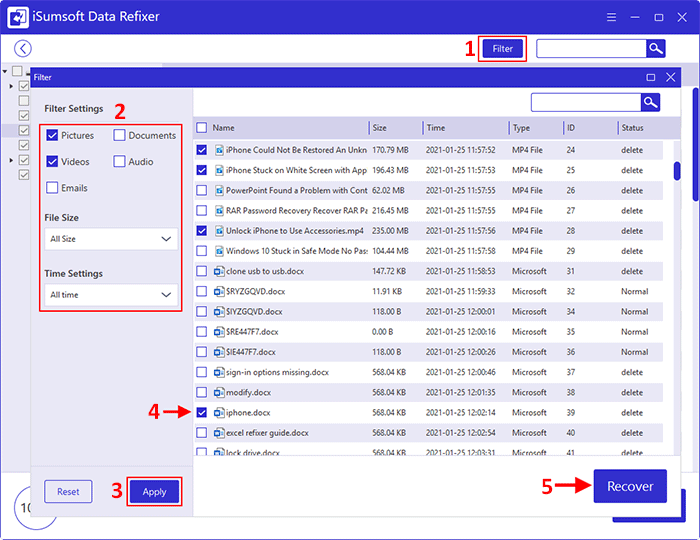
Tips: If it's not easy for you to reach the files you want, click the Filter button. When the Filter window opens, configure the filter settings according to your own needs, including the file type, file size, and the time when the files were lost. Then click the Apply button. The software will quickly filter out the data you want from the scan results according to your settings. Make sure to check all files you want to recover and then click Recover.
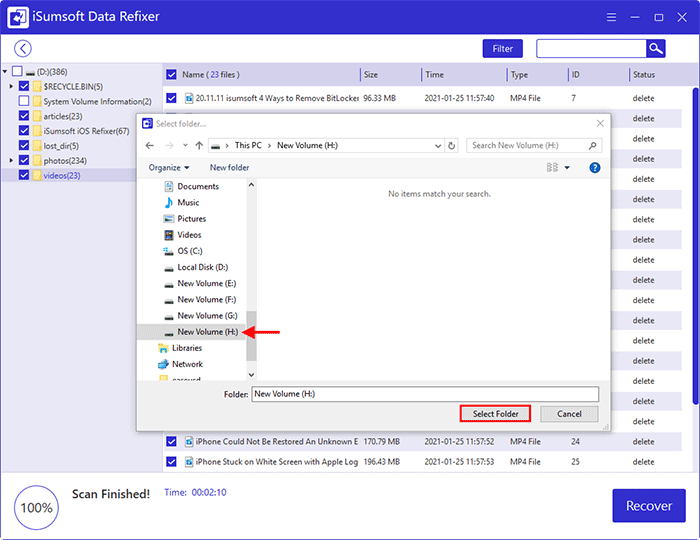
3. Select a drive or folder where you want to save the recovered files. Once the save path is selected, the software will immediately start restoring the files to the selected location.
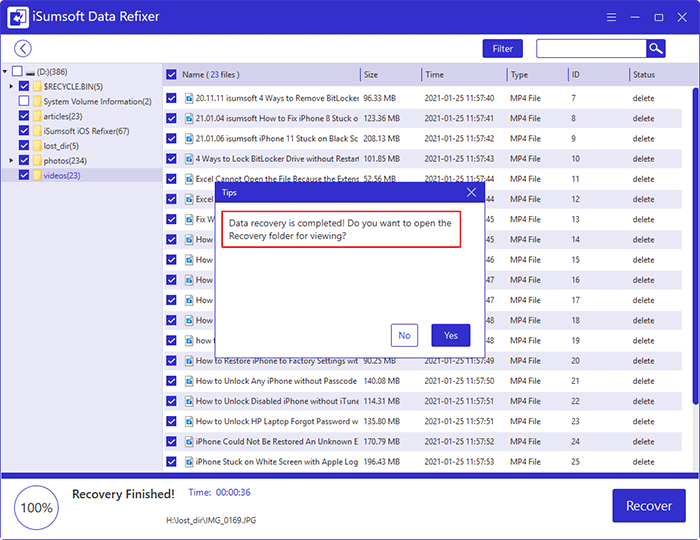
4. The file recovery process will be completed soon. You will receive a prompt dialog asking if you want to open the Recovery folder to view the recovered files. Click Yes and you can immediately access the recovered files.
5. That's it. After making sure that the lost files are retrieved, you can exit the software or return to the main interface to continue recovering other data. When the software exits, it will automatically save the current scanning results. This is convenient for you to directly recover data from the saved results next time without having to scan again.