ClearType, a screen font-smoothing tool designed by Microsoft for making Windows fonts more beautiful and clearly readable on LED monitors, is turned on by default in Windows 10/8/7. However, ClearType text has different display effects on different kinds of computer monitors, and different people have different preferences in text font. So sometimes you may want to adjust or turn off ClearType to make your fonts look best on your screen. Now, this post will show you how to turn on or off ClearType text in Windows 10.
How to turn on/off ClearType text in Windows 10
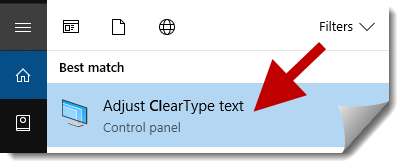
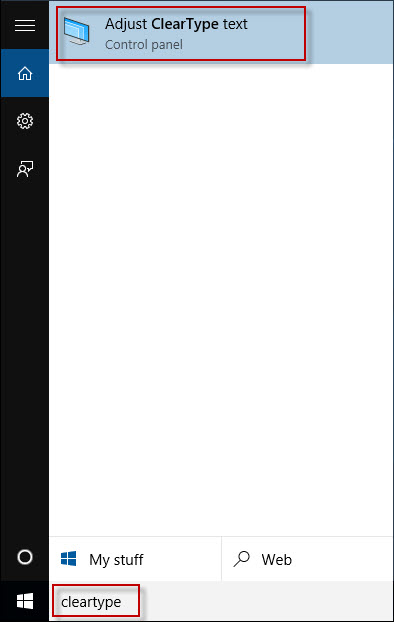
Step 1: Click Start/Win button to bring up Windows 10 Start menu. Type “cleartype” without quotation marks in the search box and then click on Adjust ClearType text in the search results list to open ClearType Text Tuner.
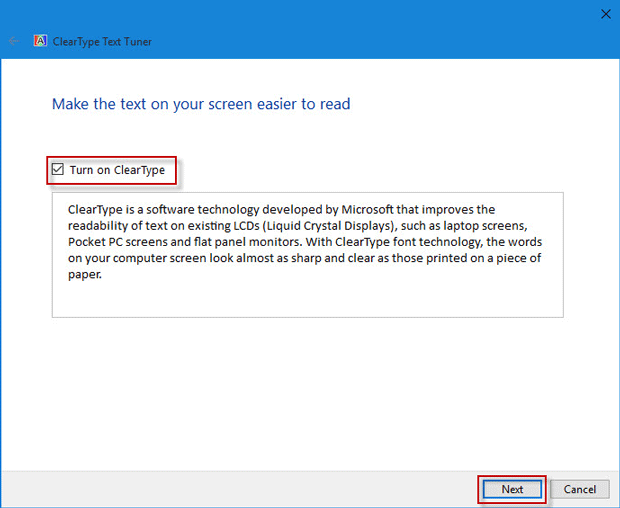
Step 2: After ClearType Text Tuner window opens, uncheck Turn on ClearType and click Next if you want to turn off ClearType, or check Turn on ClearType and click Next if you want to enable ClearType.
Step 3: Click the text sample that looks best to you, and then select the Next button. You will be asked to do this five times.
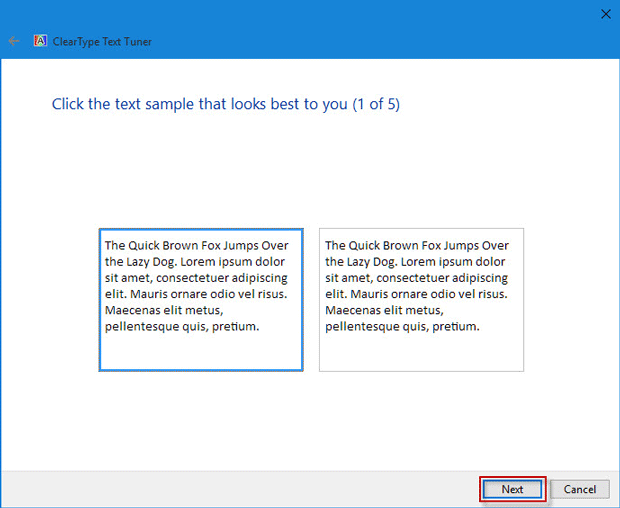
Step 4: Finally, click Finish to exit the ClearType Text Tuner window.

Alternative: There are another three ways you can access ClearType Text Tuner to adjust or turn on/off ClearType in Windows 10.
Way 1: Click Start/Win button and select Settings to open Settings panel. Then go to System -> Display -> Advanced display settings, and scroll down to click ClearType text.
Way 2: Open Windows 10 Control Panel. Type cleartype in the search box and then click Adjust ClearType text link under Display.
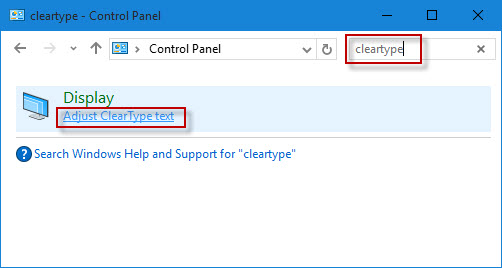
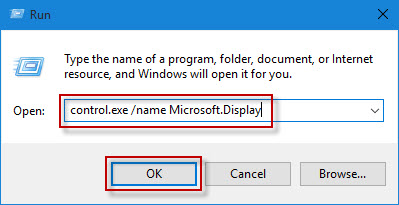
Way 3: Press Win + R to bring up Run dialog. Type “control.exe /name Microsoft.Display” in the box and click OK. Then click “Adjust ClearType text” link.
