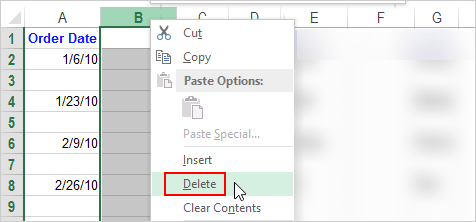
It’s easy to delete one blank row, column, or cell in an Excel worksheet. Our usual practice is to right click on this blank row/column/cell and then select Delete. However, when one Excel sheet contains a large number of blank cells, deleting them one by one will be a big deal and very time-consuming. You don’t have to do that. Actually, you can quickly delete all blank rows, columns, and cells in Excel at once. Now, this post will show you how to do that with Excel 2016.
How to quickly delete blank cells, rows, and columns in Excel 2016
Step 1: Open the target Excel worksheet.
Step 2: Select the area that contains the blank cells, rows, or columns you want to delete.
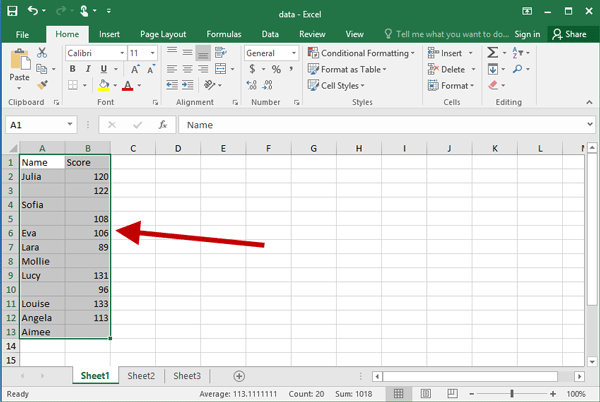
Step 3: Press the F5 key on your keyboard to bring up the Go To dialog, and then click Special.

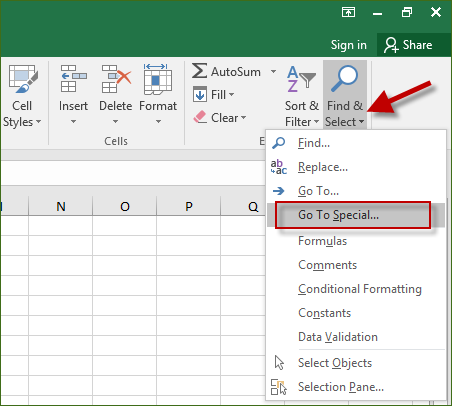
Alternatively, you can select the Home tab on Excel ribbon, click Find & Select, and then click Go To Special.
Step 4: After the Go To Special dialog opens, select the Blanks option and click OK.

Now the cells that contain data are de-selected, and the blank cells are selected, as shown below.

Step 5: Now click the Delete button under the Home tab, and then click Delete Cells from the drop-down menu.
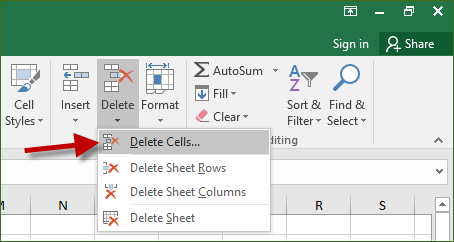
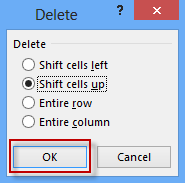
Step 6: When the Delete dialog pops up, with Shift cells up selected, click OK.
Now all the blank cells in the selection are deleted.
Notes: By this way, you should use Delete Cells, Delete Sheet Rows, and Delete Sheet Columns with caution. If you click Delete Cells, once the selected cell is deleted, the cells below the deleted cell will shift up by default. If your selected data range contains both blank rows and blank columns, clicking Delete Sheet Rows or Delete Sheet Columns will potentially destroy your data. Only when your selected range only contains blank rows or blank columns, can the Delete Sheet Rows or the Delete Sheet Columns command accurately delete the blank rows or columns.

