Some programs automatically create shortcuts on the desktop in Windows 10 once the installation completes, while some don’t. Hence, sometimes you need to manually create a shortcut for a program/file/folder to the desktop so that it can be more convenient for you to quickly open it.
2 methods to create a shortcut on Windows 10 desktop
No matter which method you will use, you have to first figure out the file location of the program/file/folder to which you will create a shortcut.
Method 1
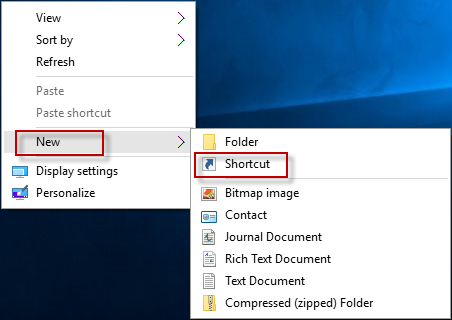
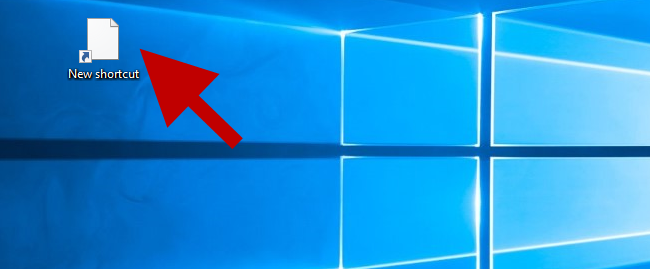
Step 1: On the Windows 10 desktop, right-click on any blank area. Then select New > Shortcut.
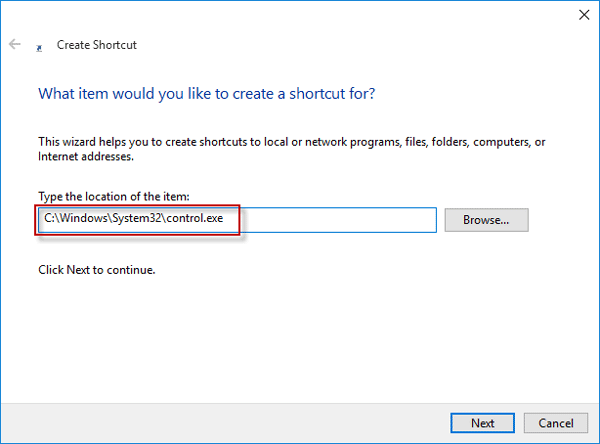
Step 2: Manually type the location of the item to which you want to create a shortcut in the text field, and then click Next. As you can see in the following screenshot, here I take Control Panel as an example.
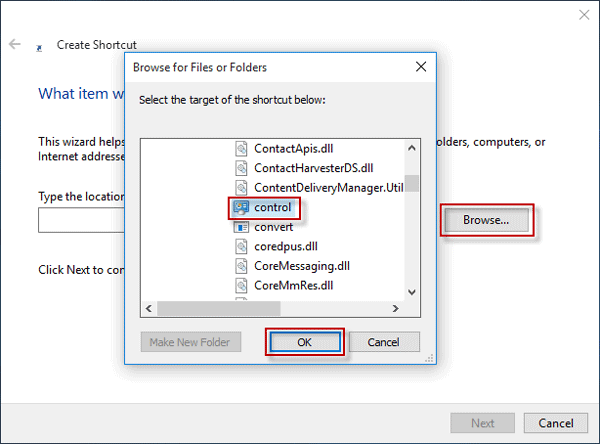
Or you can click Browse and navigate to the target location of the item.
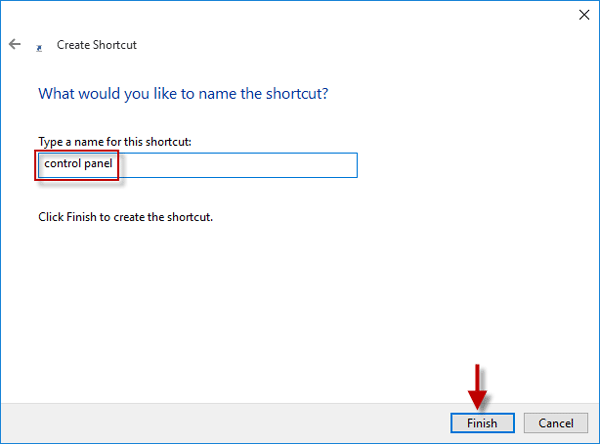
Step 3: Type a name for the shortcut. Then click Finish.
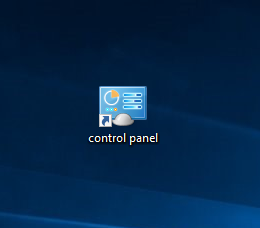
Then a newly created control panel shortcut is on the Windows 10 desktop. Double-click on the shortcut so that you can quickly open Control Panel in Windows 10.
Method 2
Step 1: Click on File Explorer on the taskbar.
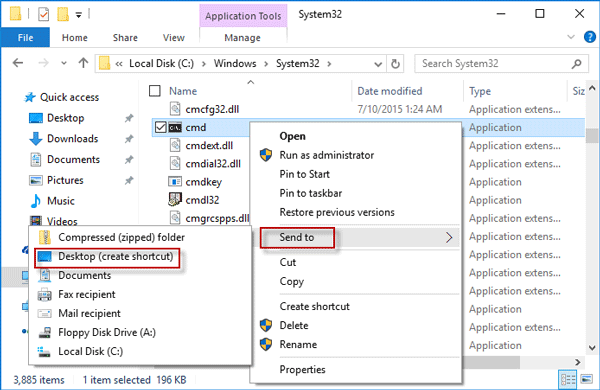
Step 2: Click This PC and browse for the files/folders to find the target object to which you would like to create a shortcut. Right-click on the object and point to Send to > Desktop (create shortcut). In the following screenshot, here I take the Command Prompt as an example.
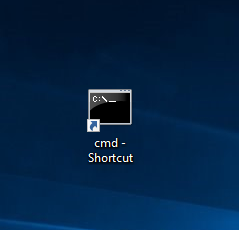
Then you can see a newly created cmd shortcut appear on Windows 10 desktop. Double-click the shortcut to run Command Prompt or right-click on the shortcut and select Run as administrator so that you can open Command Prompt as administrator.
The above are the two methods to create a shortcut on desktop in Windows 10. Of course, it should be similar in any other Windows. This page I take Control Panel and Command Prompt as an example. You can also do that for other programs, files, folders, computers, or internet address.
