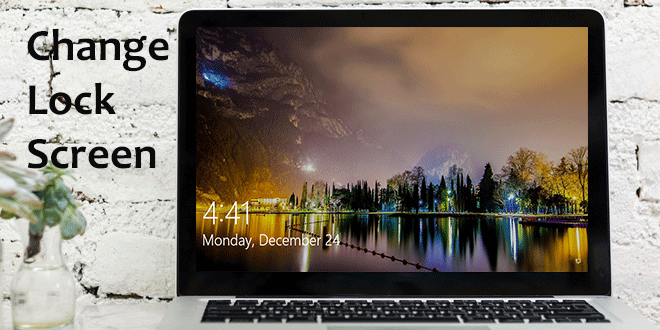
When using Windows 8.1/8 and the latest Windows 10, the automatic lock screen must have attracted your attention, which can display when Windows boots up, screen leaves idle for a while. Generally, it displays defaulted background picture and your local time and date on the lock screen. Occasionally, you may want to customize or make some changes to the lock screen, but can’t be sure how to perform this task in Windows 10. Now here we just tell how to change lock screen in Windows 10.
How to change lock screen in Windows 10
The key step will be opening PC Settings in Windows 10.
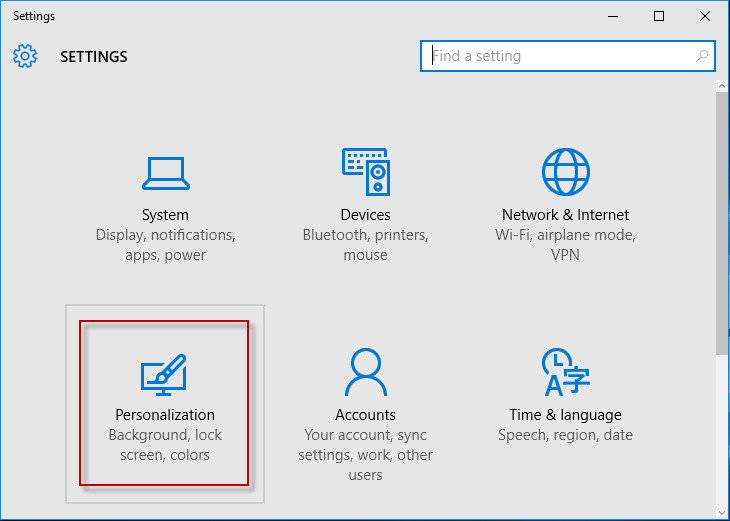
Step 1: Press Win icon on the Windows 10 desktop to bring out the Start menu. Then click Settings.
Step 2: When the Settings panel opens. Select Personalization.
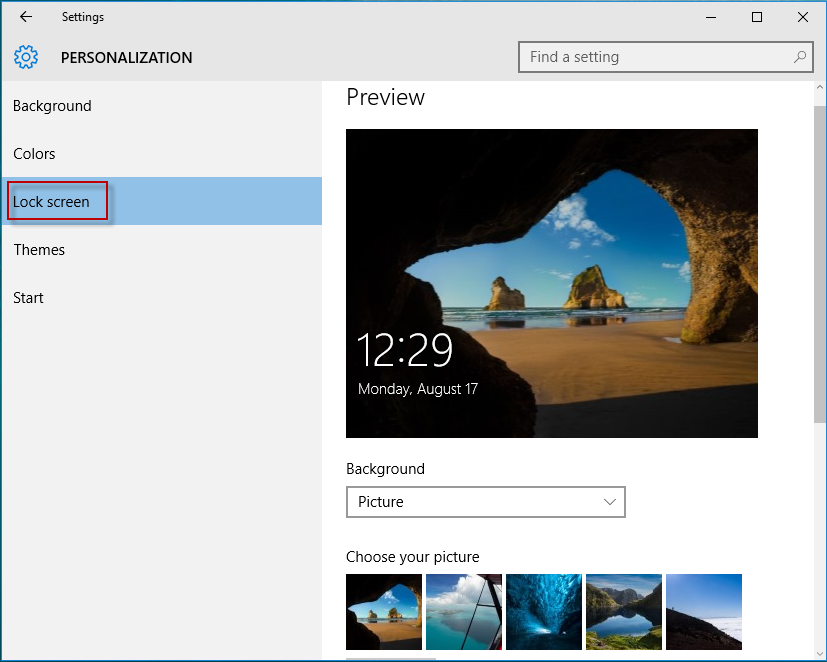
Step 3: On Personalization panel, select Lock screen on the left pane. Then on the right pane, you can make some changes to your Windows 10 lock screen.
1. Change background for lock screen
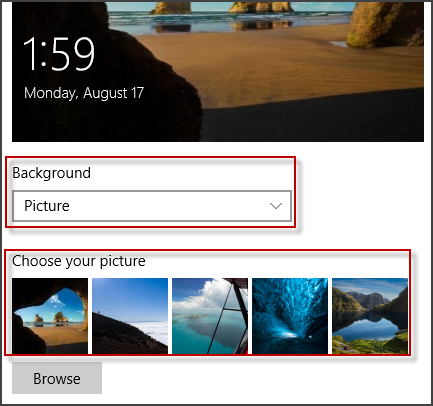
Select Picture from the drop-down box under Background. Then choose one picture you like as your lock screen background. Or click the Browse button and choose one from some other pictures saved on your Windows 10 as the lock screen background.
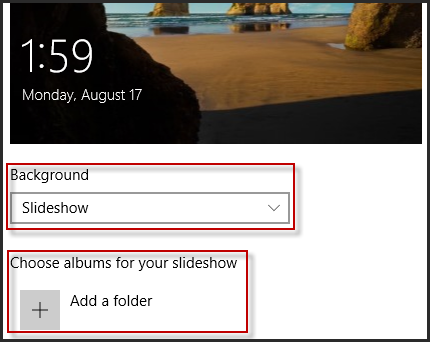
Or, select Slideshow from the drop-down as the lock screen background. And choose albums for the slideshow.
2. Change an app to show on the lock screen
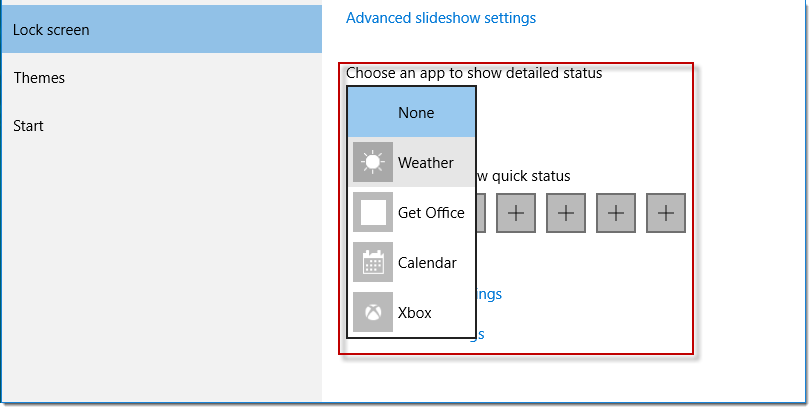
You can choose an app to show a more detailed status. For example, when you choose Weather, you will see your local weather displayed in text on your lock screen.
3. Change lock screen timeout settings
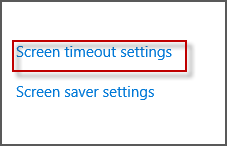
Click Screen Timeout Settings.
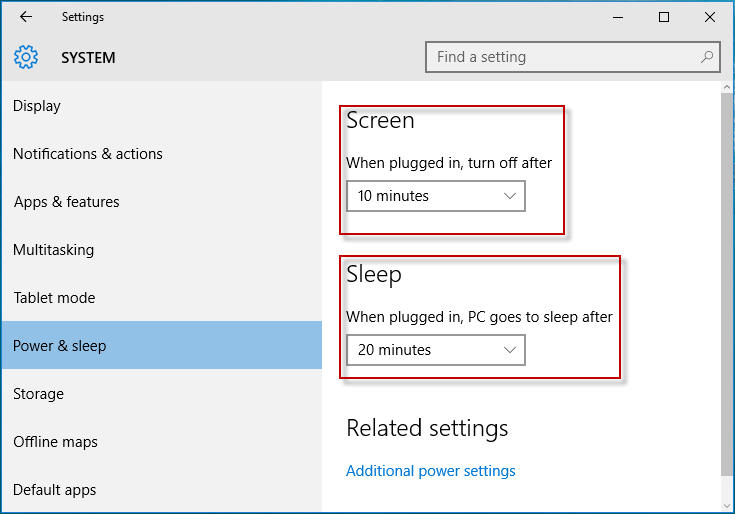
Then you can configure how long your Windows 10 screen turns off and how long your PC goes to sleep.
Tips: It seems that there are also some people who don’t like the lock screen in Windows 10/8.1 and wonder how they can stop the lock screen appearing. In this case, you just need to disable auto lock screen feature in Windows 8/8.1 or Windows 10, so that it won’t display to disturb you.

